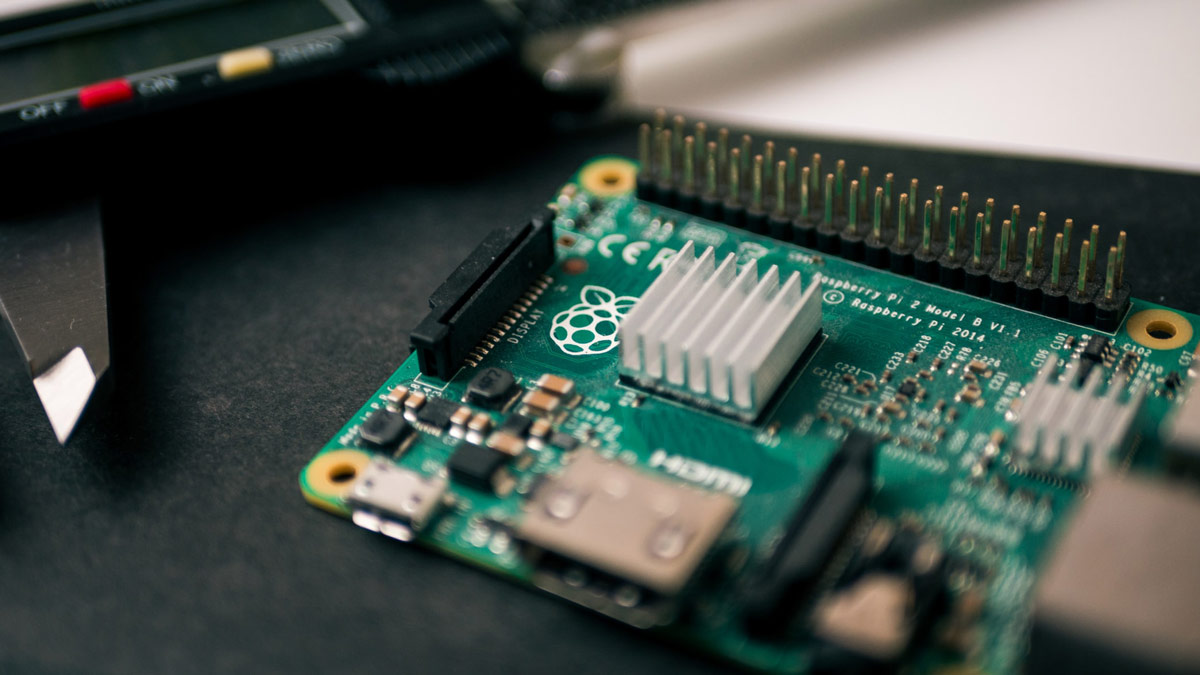
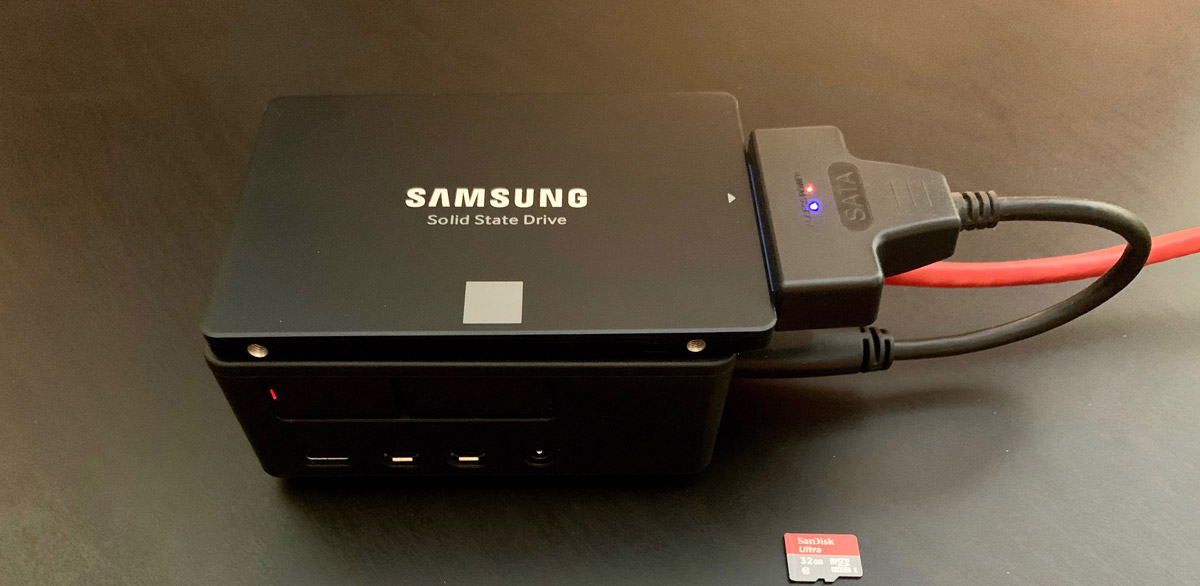
If you are deranged by the exciting world of Raspberry Pi, you are in luck. Now you can drastically increase the speed of it by booting your Raspberry Pi from USB.
These devices are normally configured to boot naturally from an SDCard inserted for this purpose. This is where we install our entire operating system, such as Raspberry Pi OS.
Raspberry Pi OS, formerly called Raspbian, is based on the well-known Linux distribution Debian, which is one of the best and most stable options in the Linux world (and my favorite without any doubts).
As a mere anecdote, Debian owes its name to the fact that Ian (its developer) linked its name to that of the girlfriend he had at the time named Debra, and from there Deb-Ian was born in 1993, curious the truth.
Booting the Raspberry Pi 4 from USB
Returning to the topic that concerns us, and thanks to tynic, now we can make our boot available directly from any USB port of our beloved Raspberry Pi.
However, this solution is currently available in “beta” mode. You may not want (or should) use it on any Raspberry Pi that you use in production. Although good, it could be said that an SDCard is not something suitable to use as a hard disk in any kind of self-respecting server, so it is up to you.
The clear advantage that we can see at first sight will be speed. An SSD hard drive is approximately 10 times faster than an SDCard. If we add to that a 64-bit operating system, the difference in terms of speed will be noticeable.
Hardware needed
Here I leave some of the components that appear in the article. They are affiliate links to different Marketplaces, so if you use any of them we will have a small commission and you will be helping to support the 3DWork.io project.
| Raspberry Pi 4 | ||||
| MicroSD Card + Reader | ||||
| Power Supply 3A | ||||
| Case (optional) | ||||
| Samsung 860 EVO 500GB 2.5″ SSD | ||||
| ELUTENG USB3 SATA Adapter 2.5″ |
STEP 1: Updating the boot firmware

Before starting to configure our Raspberry Pi 4 to boot from USB, we need to have it updated with the latest available packages and restart it. For this purpose, you must execute the following commands:
sudo apt-get update
sudo apt-get upgrade -y
sudo rpi-update
sudo reboot
After making sure that the Raspberry Pi 4 has restarted correctly, we will proceed to install a package that will allow us to update the bootloader. The latest version of Raspbian Buster already comes with this package, however we will make sure to put the following lines in the console:
sudo apt install rpi-eeprom -y
Now we will execute this other command to indicate that we are going to use beta firmware versions.
sudo sed -i 's/critical/beta/g' /etc/default/rpi-eeprom-update
We install the new bootloader with this other command.
sudo rpi-eeprom-update -d -f /lib/firmware/raspberrypi/bootloader/beta/pieeprom-2020-05-15.bin
If everything went correctly, the new manager will have been installed and a message will have appeared indicating “EEPROM update pending. Please reboot to apply the update”. So we will proceed to restart our system again so that all the changes made with the following command (already well known) are applied.
sudo reboot
At this point, you can check if everything has gone correctly by executing the following commands. The first one (vcgencmd bootloader_version) will show you a more recent date, and the second command (vcgencmd bootloader_config) will indicate the boot order currently set.
vcgencmd bootloader_version
vcgencmd bootloader_config
If we take a look at the information output of the second command, you will see a parameter called BOOT_ORDER. This parameter, or better said property, will define the sequence of the different startup modes according to how they are arranged. The manager will use the first character on the right and then continue with the next ones, if any.
pi@raspberrypi:~ $ vcgencmd bootloader_config

[all]
BOOT_UART=0
WAKE_ON_GPIO=1
POWER_OFF_ON_HALT=0
DHCP_TIMEOUT=45000
DHCP_REQ_TIMEOUT=30000
ENABLE_SELF_UPDATE=1
DISABLE_HDMI=0
SD_BOOT_MAX_RETRIES=1
BOOT_ORDER=0xf41

pi@raspberrypi:~ $
These are the available boot modes, and we are allowed to put up to 8 modes on the same line:
0x0 – NONE (stop with error pattern)
0x1 – SD CARD
0x2 – NETWORK
0x3 – USB device boot (usbboot)
0x4 – USB mass storage boot
0xf – RESTART (loop) – start again with the first boot order field.
And as you can imagine, here is the crux of the matter. Now in this line you will see “BOOT_ORDER=0xf41”, and as you can imagine what will happen is that first it will try to load the operating system from the SDCARD and if it does not exist, from our hard drive.
By default, the value of BOOT_ORDER is 0x1, but since we have updated the firmware to the latest beta version “pieeprom-2020-05-15.bin” 0x41 should now appear. This means that it will try to boot from SDCard and if it does not find a memory it will test USB Mass Storage (our hard drive).
If you have more concerns about the rest of the parameters referring to the Bootloader configuration, you can find the full description in the official documentation of the Raspberry Pi project at next link.
STEP 2: Install Raspbian on your SSD (or pendrive)
Now the second step that we must carry out to boot our Raspberry Pi from USB is to install the Raspbian operating system on our SSD or Pendrive hard drive, depending on what you want to use. Here the process is similar to how it is installed on an SDCard, so I will not proceed to detail it.
When you have finished installing on your SSD hard drive, we will mount the drive using these commands:
sudo mkdir /mnt/usb
sudo mount /dev/sda1 /mnt/usb
Now, with the unit mounted and having access to it, we will copy some necessary files to it and the configuration process will be finished.
sudo cp /boot/*.elf /mnt/usb
sudo cp /boot/*.dat /mnt/usb
To finish, we will turn off our Raspberry Pi with the “halt” command and extract the SDCard. And if everything went correctly it should work.
sudo halt
Well, I hope that this short mini-tutorial to boot your Raspberry Pi from USB has been to your liking. And do not hesitate to add us to our social networks (Facebook, Twitter, Instagram) or to our Telegram channel.
You can find more interesting articles at 3DWork.io in the following links:
- Maker Ultimate 2: Review of the latest Monoprice printer
- Analyzing the new resin printer Phrozen Sonic Mini (Review)
- MKS Robin Nano v1.2: Analyzing the new MakerBase 32bit boards
- Hollow 3D objects with ChiTuBox to save resin
- 10 reasons to use ChiTuBox with your resin printer (SLA / DLP)


Déjanos un comentario