Bigtreetech, knows where the market is going and where it can innovate and improve the experience of its customers.
This new SKR Pico is especially focused on printers where we use Klipper as the heart of the system and given its small size it is perfect for, for example, Voron 0.1 or printers such as the Creality Ender or similar… great if we want to switch to Klipper and update our printer mainboard.

Before continuing with the article, I would like to remind you as always that we have a great community on our Telegram channel. There we usually share all our doubts and experiences. If you want to be part of it, feel free to join us.
You can also find other help guides in our Telegram Bot @ThreeDWorkHelpBot.
SKR PICO what’s new
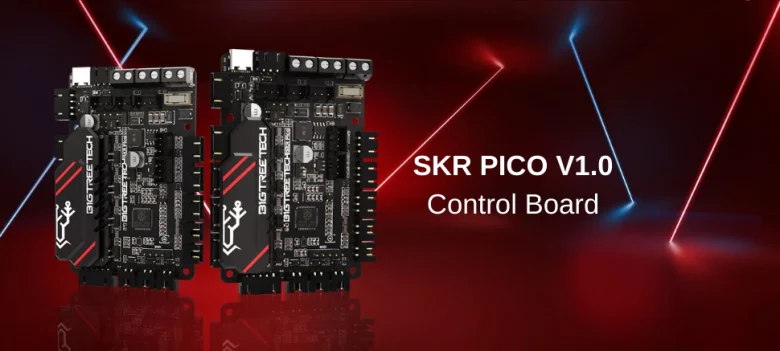
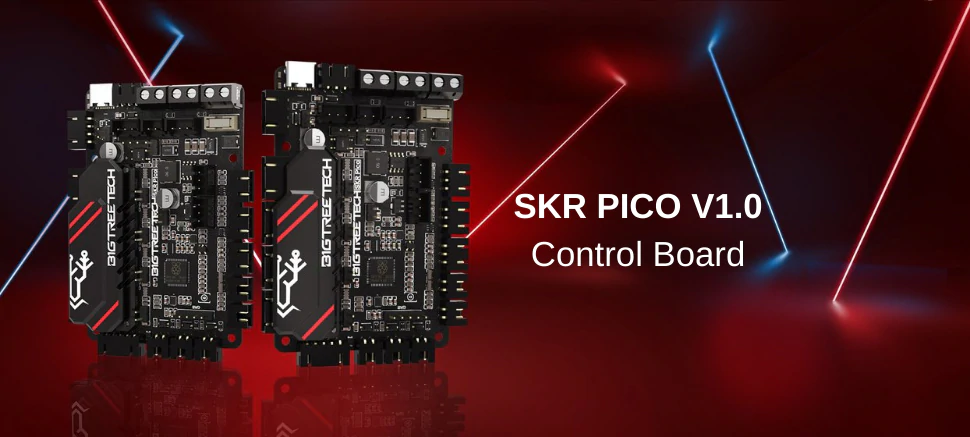
The SKR Pico, as commented, is a new type of mainboard totally focused on its use with Klipper with an exceptional design and quality very much in line with the SKR Mini V3.
We leave you with an introductory video by Bigtreetech.
As the most important improvements:
Primera placa de Bigtreetech equipando una MCU Raspberry Pi ARM Cortex-M0+ con procesador RP2040… con soporte para drivers TMC2209 en modo UART y con soporte para Klipper.
First Bigtreetech board equipping a Raspberry Pi ARM Cortex-M0+ MCU with RP2040 processor… with support for TMC2209 drivers in UART mode with native support for Klipper.
Two different models, the normal SKR Pico has a great heatsink for the drivers and the SKR Pico Armored that with an impressive design adds a “shell” to improve cooling and protection of the electronics.

Murata capacitors, Murata is a quality manufacturer of this type of components that have been included for optimal performance
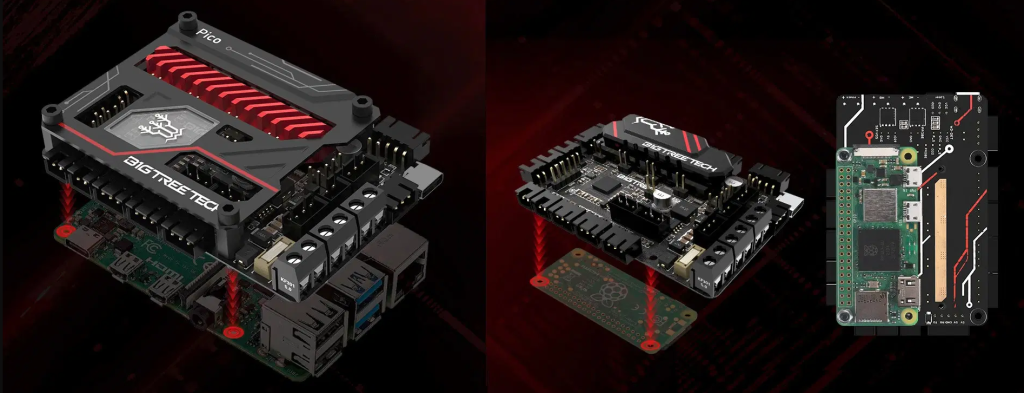
Total integration with Raspberry Pi, the SKR Pico is totally focused on its use with Klipper and for this Bigtreetech has worked on it having a compact and totally integrated design together with a Raspberry Pi that is usually the most used brain in Klipper for 3D printers.
Sensorless, extremely useful, and increasingly popular functionality is the replacement of physical limit switches or endstops with sensorless. SKR Pico has full support for this functionality through jumpers.

SMD fuse, as we have already seen in some of its sister’s boards, this SKR Pico incorporates an SMD fuse reducing the size and adding a better look to the final design.
USB C, USB C connector for external printer control or board updates.
Compact design, the size of this SKR Pico makes it perfect to integrate into any printer, having connections lateral, facilitating its integration with Raspberry Pi and improving access and general cooling.

Where to buy the SKR PICO?
You can buy the SKR PICO in different marketplaces and internet stores. Here are some direct links.
If you use them, the price of the product will be the same as if you access it normally, but 3DWork will have a small commission. Something that will help us support the project and continue generating content.
As an alternative, you can also use our search engine for 3D printing products Markets.sx, where with a single search you will be shown prices from different marketplaces (Amazon, Aliexpress, Banggood, etc.)
Schematics/Diagrams
We attach some schematics/diagrams of the SKR PICO:
Expansion/Improvements
Despite its size, the SKR PICO has multiple dedicated connectors to improve and expand its functionalities, improving our printer with leveling sensors, filament sensors, relay modules, UPS modules, Neopixel or RGB LED strips, etc…
Here are details of some of them:
A great improvement for our printers that can make it easier for us to have a first layer that is as perfect as possible is the installation of a leveling sensor such as the Bltouch because it is one of the most versatile.
You have detailed information in our Bltouch guide.

We also have the option of using an inductive/capacitative sensor, which we can select if it is of the PNP or NPN type by means of a jumper, which is always appreciated.

Although it is not a direct improvement in the use of the printer, the inclusion of a controllable LED strip is very useful, either for the lighting or the printing area as well as event management.

Firmware
In this case, Bigtreetech has focused this controller board on its use with Klipper, for now, there is no compatibility with other firmwares.
Klipper
Klipper is an open-source firmware for our 3D printers that use the power of a Raspberry Pi, usually though it can be mounted on many more devices, to control the electronics of your printer. By doing this we can make it work faster and with more precision depending on the system and hardware we have.
Something that Klipper is going to allow us, in any case, is being able to have control at a lower level of our machine, which will also require extra knowledge/effort, greater speed when applying any change in addition to control remote of the first-class machine.
It is important to emphasize that if we come from other systems, Klipper may have some restrictions in terms of compatibility with components or with certain functions that we now have in our printer.
On the other hand, we have very interesting control functions for our printer, such as Pressure Advance (similar to Marlin’s Linear Advance) and Input Shaper, which will greatly improve speed and quality.
Raspberry Pi connection to our SKR PICO
As we have already mentioned the Klipper core runs on a Raspberry Pi normally, we can connect using a USB cable or USART to our SKR PICO but for our example, we will use the most common/simple one which is using a USB cable since the method we use for the connection has implications when generating the firmware.
Klipper firmware generation
In order for Klipper to be able to control our SKR PICO, it must contain a firmware that we can obtain in different ways:
- Using the precompiled firmwares that we can find on Bigtreetech’s GitHub
- klipper-USB.uf2 in the case that we use the connection between our Klipper and SKR PICO via USB
- klipper-USART0.uf2 in this other case we will use the USART2 connection to communicate both components.
- Compiling our own firmware
We can follow the official Klipper documentation to install it. We also recommend using Kiauh, Fluidd Pi or MainsaiOS, they have images that greatly facilitate the installation process of all the necessary components.
You can review our Klipper Guide.
- We can follow the official Klipper documentation to install it. We also recommend using Kiauh, Fluidd Pi or MainsaiOS, they have images that greatly facilitate the installation process of all the necessary components.
You can review our Klipper Guide.- Following the steps from the documentation we will create our firmware using these settings on Building the micro-controller:
- [*] Enable extra low-level configuration options
- Micro-controller Architecture = Raspberry Pi RP2040
- Depends on SKR PICO to Raspberry Pi connection type:
- If we use USB Communication interface = USB
- If we use USART0 Communication interface = Serial (on USART0 GPIO01/GPIO0)
- Following the steps from the documentation we will create our firmware using these settings on Building the micro-controller:

- The klipper.uf2 firmware will be generated in the home/pi/klipper/out folder which we must manually copy to the SD using WinSCP or the pscp command in the CMD if you use Windows or Cyberduck if you use MAC.
Klipper firmware installation
Si seguimos los pasos anteriores de forma correcta dispondremos del firmware compilado klipper.uf2 en nuestro ordenador.Para instalar el firmware deberemos de seguir los pasos siguientes:
If we follow the previous steps correctly we will have the klipper.uf2 compiled firmware on our computer. To install the firmware we must follow the following steps:
- We will put a jumper on the BOOT pins of our SKR Pico and we will press the RESET button which we can locate following next scheme:

- We will connect the USB C cable to our computer and a new unit called RPI-PR2 should appear where we will copy our klipper.uf2 firmware.
- We will restart the SKR PICO and if the RPI-PR2 unit appears again, the firmware will have been updated
- We will remove the jumper from the BOOT connector and do a RESET so that the board starts up normally
Basic Klipper Configuration
- Using official Klipper documentation as a reference to installing it to configure Klipper we will use the SKR Pico klipper.cfg configuration as a base for our printer.cfg includes the correct pinning definitions for our SKR PICO.
- You can use official Klipper documentation to enable Klipper features that fit better for us.
- If we are going to use USB to communicate Klipper with SKR PICO we will execute the following command from Klipper command-line ls /dev/serial/by-id/*, from Kiauh we have a quick and easy way to execute this action from its menu, to identify the ID correct from our SKR PICO and add it to our printer.cfg

...printer.cfg
[mcu]
serial: /dev/serial/by-id/usb-Klipper_rp2040_E66094A027831922-if00
- If we use USART0 to communicate we will need to modify some configurations in our Raspberry Pi directly in the SD from the computer or. in the most comfortable and advisable way, which is through SSH
- Delete or disable console=serial0,115200 in /boot/cmdline.txt
- Add dtoverlay=pi3-miniuart-bt at the end of /boot/config.txt
- Modify [mcu] in printer.cfg to serial: /dev/ttyAMA0 and enable restart_method: command
...printer.cfg
[mcu]
serial: /dev/ttyAMA0
restart_method: command
Now, all we have to do is go to the Klipper UI, adjust any error that the compiler reports, and put it on our board.
As always, we advise you to initially verify the printer by following our Klipper first steps guide.
As always, we hope that the article has been useful for you to configure these new BigTreeTech SKR PICO electronics. You can leave your comments or doubts at the end of it.










Déjanos un comentario