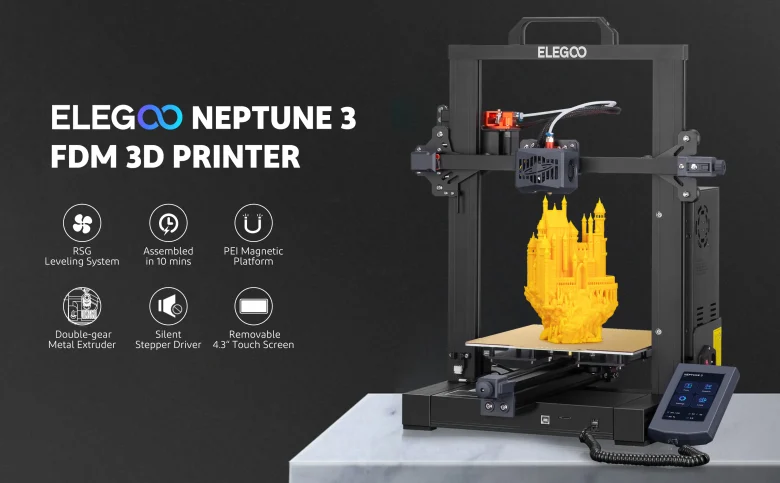
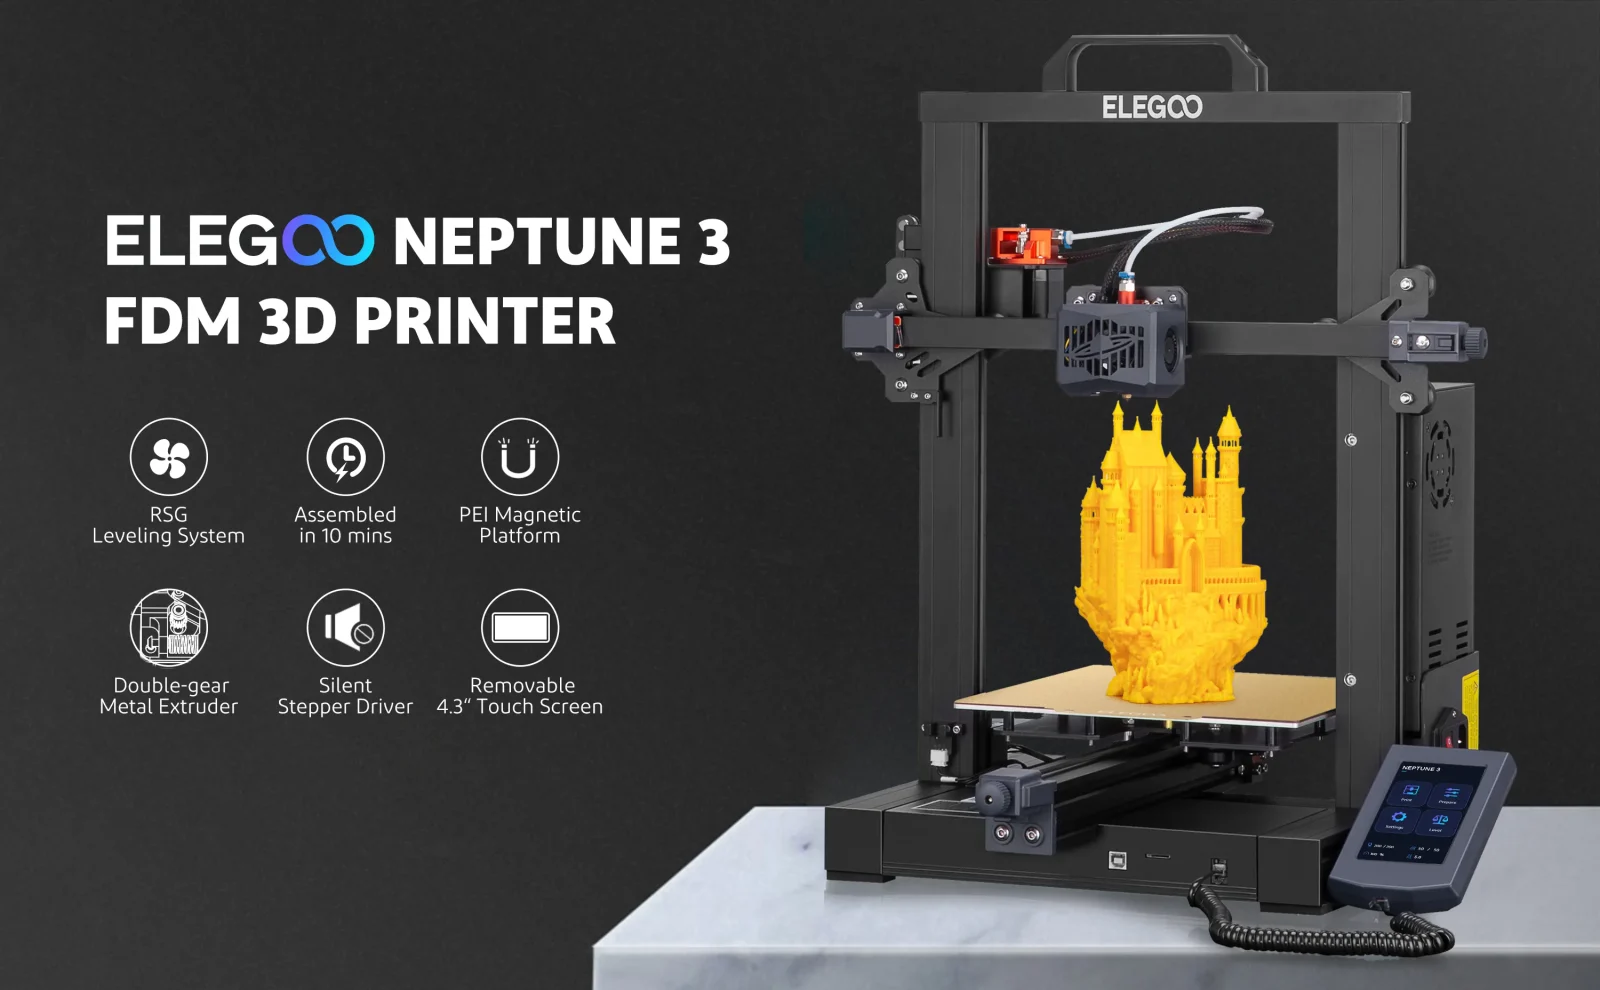
Today we are going to present you the new Elegoo machine, the Elegoo Neptune 3.
A few weeks ago we received this Elegoo printer with an excellent quality/price ratio that has pleasantly surprised us.
Elegoo is a well-known brand in the 3D world and that experience is evident in many aspects of this Elegoo Neptune 3, which is specially designed to be a machine to start in this world but, with a low price, offers features and some components that will facilitate the learning process.
As always, before continuing with the article, remind you that you can join 3DWork on our Telegram channel full of people who are upset by 3D printing, or on our social networks Facebook, Twitter, Instagram.
Elegoo Neptune 3 printer
The Elegoo Neptune 3 is the evolution of the Neptune 2, a printer with a contained size that improves several aspects of its smaller sister as we will see later.

The main difference with its sisters is the print volume that improves on its Z-axis compared to the Neptune 2 to a perfect 220 x 220 x 280 mm (8.5 x 8.5 x 11 inches).
On the other hand, and among the most important, it continues to maintain some perfect functions that simplify and improve the operation and use of the machine:
- Easy to assemble
- 16-point self-leveling system using a pressure sensor
- Bowden Type Double Gear Extrusion
- Silent operation thanks to its drivers TMC2225 in XYZ and TMC2209 in E
- Touch screen with a simple and practical interface as well as being able to be removed for a more comfortable handling
- PEI printing surface
- Filament sensor and power failure recovery
Also, the inclusion of the instruction manual, a test object or profiles for Cura (we would have liked it to have been added for others) in the SD along with the rest of the tools and assembly supplies make this printer a sensational kit, especially for those Get started with 3D printing.
Technical specifications
| Leveling | Automatic, 16 points leveling |
| Printing materials | PLA / ABS / PETG & TPU |
| Extrusion type | bowden with double gear extruder |
| Nozzle size | ø 0,4 mm (changeable) |
| Nozzle temperature | ≤ 260 °C |
| Hotbed temeperature | ≤ 100 °C (250W) |
| Control panel | 4,3 inches touch TFT |
| Electronics | ZNP Robin Nano v2 (32b) drivers TMC2225 on XYZ y TMC2209 on E |
| Printing size | 220 x 220 x 280 mm (8.5 x 8.5 x 11 inches) |
| Printer dimensions | 442 x 452 x 530 mm (17 x 17.7 x 20.8 inches) |
| Price | $209 in pre-order |
Where to buy the Elegoo Neptune 3?
At the moment while we did this review, the only way if you want to get the Elegoo Neptune 3 will only be possible from its website since it has not yet been officially launched on the market.

Finally you can use our search engine called Markets.sx. In this way you will literally search different online marketplaces in one click (Amazon, Aliexpress, Gearbest, etc.) and it will show you the results in a single search.
Elegoo Neptune 3 package content
Elegoo has made some interesting improvements on the Neptune 2 that can be seen in this Elegoo Neptune 3, the printer comes partially pre-assembled from the factory and the process, which we will detail later with a video, is very simple, between 15 and 30 minutes to carry mount and start printing the sample test.

Content included in the Elegoo Neptune 3:
- Base Elegoo Neptune 3
- Z-Frame Elegoo Neptune 3
- PEI platform 220 x 220 mm
- 4.3 touch screen
- Filament support and a sample of filament for test
- Tool kit, screws, and other spare parts
- USB and power cables
- SD card and USB adapter including manuals, laminator profiles, a test piece
As you can see, the kit comes with everything you will need for assembly, first tests, and maintenance.
Unboxing and initial setup
We have already told you that the assembly is very simple, starting by mounting the Z bridge that holds the X-axis, installing the power supply, connecting the screen and installing the handle and the filament support, and adjusting the XZ axis eccentrics. , extruder and bed.
Once our machine is completely assembled, we will proceed to turn it on, and following the on-screen wizards and documentation, we will adjust and level the bed with its system and load the filament.

It is advisable to take a look at the microSD as it also includes the assembly video, a PDF copy of the manual, the Elegoo Cura laminator, and a pre-laminated example figure and its stl to laminate it if we want.
Components and mechanics
The Elegoo Neptune 3 has an aluminum chassis and some gray plastic parts, with a fairly sober design and in line with other manufacturers.

At the base of the printer we find the protected and ventilated electronics space, the power supply has opted for a traditional position in one of the Z columns, something that in the future we want to improve with a double motor in Z will require some future redesign.
Kinematics
This printer uses traditional Cartesian kinematics where it is the bed that moves on the Y-axis. The inclusion of a magnetic PEI surface that lightens the whole and can give us more room when it comes to obtaining better performance in the machine.

The use of an aluminum chassis along with POM jog wheels allows for smooth, and low-noise movement. Also welcome is the inclusion of belt tensioners on the X and Y axes..

Electronics
We have 32b electronics, apparently, it looks like a version customized by MKS for this Elegoo Neptune 3, ZNP Robin Nano v2.

As we have mentioned, we have TMC2225 drivers in XYZ and TMC2209 in E that provides smooth, precise, and silent operation. Also, although it generates a bit of noise, the inclusion of a fan dedicated mainly to the drivers will ensure that they work at their optimum point.
As usual, we have a USB port to connect our electronics to other devices and an SD port to be able to transfer/print our pieces.

Related to the electronics and its firmware, the Elegoo Neptune 3 includes a sensor with the detection of missing or jammed filaments that is really useful. On the other hand, in the event of an unexpected power failure, the printer can recover the print once we have power.
Hotend, extrusion and hotbed
The Elegoo Neptune 3 mounts a standard hotend together with an aluminum dual gear extruder using a Bowden system to supply filament to the hotend. In our tests, we found that between 60-90mm/s the extrusion was quite solid using the 0.4 nozzle and at 0.2 layer height.
A filament sensor has also been included that will allow us to detect lack or jam and save our prints in these cases.

Related to this type of “protection” also comment that we have a printing resumption system in case of failure.
Regarding the hotend, it is protected by a very stylish casing where inside we can find the hotend fan and two-layer fans that give a fairly good flow and are not excessively noisy.
It is interesting to mention that we have the self-leveling sensor within the set.

With respect to the hotbed, it behaves adequately, although it is not particularly fast in reaching working temperatures. On the other hand, it seems that it is limited to 100º, so if we plan to work with some technical materials we may have some limitations.
Display and printer management interface
The Elegoo Neptune 3 has a 4.3-inch rectangular full-color touchscreen display, with a simple interface as well as being able to manipulate it comfortably thanks to its anchoring system.

Elegoo has done a good job giving enough options to be able to adjust almost all aspects of the printer and settings during printing although, for now, it seems that we will not be able to enjoy the preview of our figure in it… something that Elegoo is sure will improve soon by update.
Print quality
To check the default settings, which is what 90% of people normally do when using a new printer, especially if you are just starting out in 3D printing, the first thing we did was launch the example object that the SD card carries.
The included test piece seemed very interesting to us since, although it seems simple, it has some interesting details, we have to say that the result was very correct, showing a correct and constant extrusion throughout the piece.

As we mentioned, we can find a copy of Elegoo Cura on the microSD, and we can also download a current version on its website, which does not have any improvements except to include the Neptune 3 profiles.
In our case we did tests from the normal version of Cura and PrusaSlicer/Superslicer using the profile of an Ender 3 as a base, adjusting only the size of the z-axis to 250mm.
We printed a vase which turned out really well for not having the calibration tests done. These types of pieces help us to see the consistency in the extrusion, and possible failures in the Z-axis as well as test the machine with long impressions.

We also carried out some power cut and filament tests working perfectly and allowed us to recover our prints in both cases!!!
We still have to do some tests with TPU, PETG, or ASA/ABS to see how it behaves, although due to the restrictions in the hotend and bed system, materials such as ASA/ABS may not be the most suitable for this machine.
Final assessment
The Elegoo Neptune 3 has substantial improvements over its younger sister, the Neptune 2, and with a really interesting price ($209 in pre-order on its website), it is a highly recommended option for someone looking to get started in low-cost 3D printing, simple start-up and with the support of a great brand such as Elegoo.
The inclusion of a PEI magnetic base, a self-leveling system that although simple is functional, its correct extrusion system in addition to its filament sensor and power failure recovery make it one of the most prepared options in its range.
And that’s all, we hope as always that our article ELEGOO Neptune 3: Excellent option to get started in 3D printing has been to your liking.
Don’t forget to visit other interesting articles at 3DWork.io:
- Anycubic Kobra Plus: A great size for a great printer
- ELEGOO Saturn 2: Large size and higher resolution resin printer
- ELEGOO Mars 3: The new beast in 4K for resin prints
- Revopoint POP2: Quality, affordable, high-accuracy 3D Scanning
- SKR PICO: Analysis and complete guide of this great little controller
- Anycubic Mono X 6K: New Anycubic Mono X Printer Review
- Voron 0.1 Kit FYSETC: Analysis and configuration of this versatile/reduced 3D printer
- Slice Engineering Mosquito: A Spectacular Hotend for High-Performance 3D Printers








hvor kan man købe et nyt bundkort til den,
Znp Robin Nano V1,3 da printer hovdet bliver så vamt at den at den ryger selv om den står til 230 gr
så forsætter den bare op af
kan ikke finde ud af den