Usually, when we analyze a printer or device, we try to be as impartial as possible, but on occasions like today, when we have to do it with a Ratrig V-Minion machine, the little heart pulls us a little.
A few months ago we presented you the one that from our point of view and compared to other similar machines is currently the best CoreXY, in DIY format or do it yourself, the V-Core3. We show you the vision of Ratrig in small-volume single-arm 3D printers.
We remind you again, although in this case due to the size and simplicity of its chassis/kinematics it is considerably reduced, this type of DIY machine does not come assembled, so we advise you to plan the assembly well, something that Ratrig makes relatively easy with the available documentation.
Remember, as always, that we have a large community on our Telegram channel and a specific channel for Ratrig in Spanish.
Ratrig V-Minion Printer
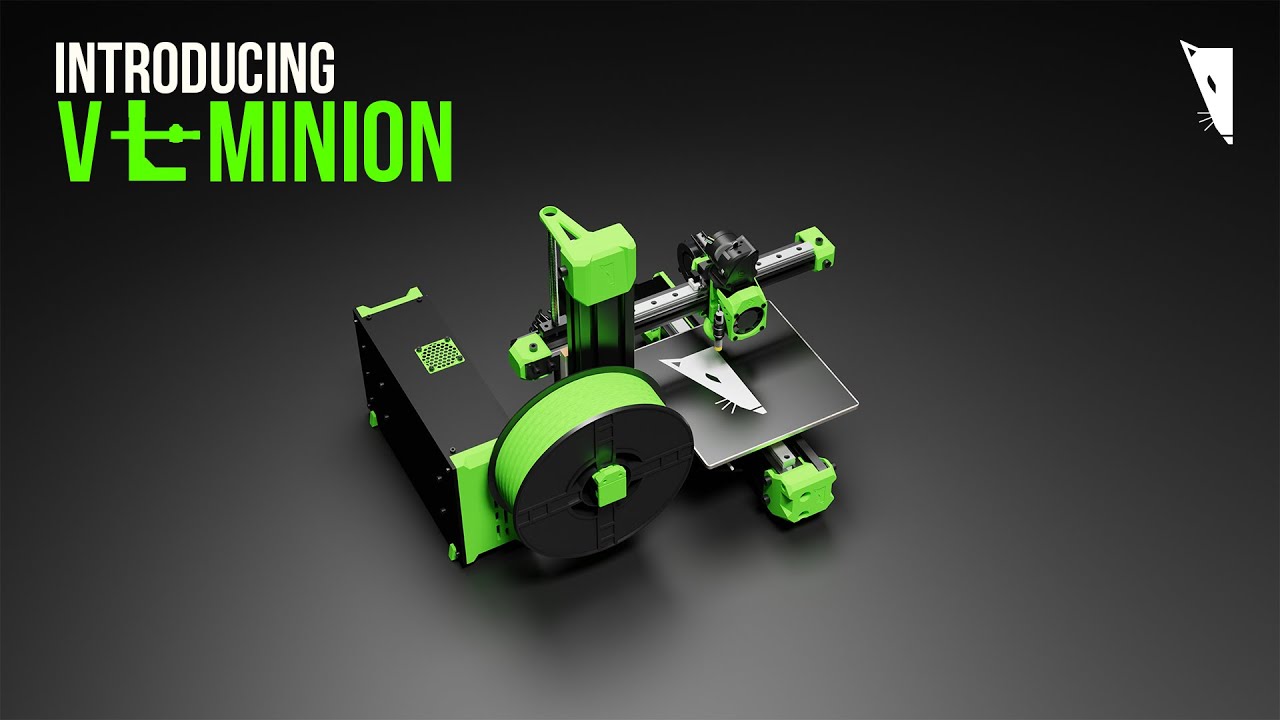
The Ratrig V-Minion has an apparent similarity to the Prusa Mini due to its general design, although apart from that they have little else in common due to their robust chassis and kinematics system, multipurpose extrusion systems, or the freedom/versatility/power of the Klipper system who handles it.
Some of its most notable features:
- Printing volume of 180*180*180mm that together with its single-arm chassis makes it very compact

- Chassis is built with 3060 aluminum profiles that make this V-Minion a “tank” in this aspect, allowing higher printing speeds with a low range of vibrations.
It also incorporates linear guides in its 3 axes that allow precise and smooth movements as well as a significant reduction in the noise generated during printing. - It uses the sensational EVA system in its print head that will allow us to use a wide range and combinations of extruders and hotends.

- Like the chassis, it has a robust 5mm aluminum bed along with a Keenovo 24v silicone heater that has integrated thermal protection (thermo-fuse)
- External box for modular electronics, in which we can install different electronics, being perfect in the event that we want to print technical materials and leave the printer in an enclosure and the electronics outside of it.

- RatOS is a distribution created by Ratrig where they combine Klipper together with the configurations of your machines to allow us to control and manage the machine in a simple way.
Where to buy the Ratrig V-Minion?
You can find the kits to make your V-Minion from the Ratrig website where we basically have two kits:
- Mechanical kit, which basically includes the chassis and kinematics with all their hardware
- Full kit, which includes the mechanical kit plus electronics, extrusion, and all printed parts
Ratrig also provides the BOM (list of materials to buy) with everything necessary to assemble the machine ourselves.
Our kit components
As we have already mentioned, one of the advantages of Ratrig is that we can choose between different alternatives to mount our V-Minion:
- buying the full kit where we will have everything you need and is the most suitable if you do not want to complicate your life too much
- using the BOM (list of materials to buy) and buying all the components ourselves or reusing if we already have some at home
- buying the mechanical kit, perhaps from our point of view the best in the case of advanced users or for those who want to customize their machine with respect to the original kit
3DWork.io settings
In our case, since our maker spirit asks us to do so, we chose the mechanical kit together with the source and the excellent Keenovo heater. Below we list all the components that we have used:
| Kit | Mecánico V-Minion Ratrig |
| Electronics | Bigtreetech SKR Mini v3 Amazon/Aliexpress Raspberry Pi 4 |
| Extrusor/Hotend | Orbiter v2.0 Phaetus Rapido |
| Stepper Motors | Longruner 1.8º 2.0A |
| Bed heater | Keenovo 24v 180W |
| Leveling sensor | SuperPINDA |
| Firmware | RatOS |
| Filament for printed parts | Fiberlogy e-PETG Verde Transparente Fiberlogy e-PETG Vertigo Transparente |
Assembling our Ratrig V-Minion
If this is your first DIY printer we warn you that setting up these types of printers can be a bit laborious but Ratrig has done a great job with step-by-step documentation of the assembly.
On the other hand, this V-Minion is quite simple to assemble and in 4-6 hours depending on your knowledge, skill and planning when assembling.
Printed parts
Before starting with the assembly we must have the basic kit of printed parts that you can find in its repository or by downloading the following ZIP in the event that we do not choose the full kit where these are already printed.
In the case of the electronic box, you also have the CAD files available to be able to use a CNC to cut them yourself or order them cut.
Access to 3D design is also very interesting to be able to work on it if we want to make our mods.

From Ratrig we suggest the following configurations to print these pieces we would advise you to make them in PETG, ASA or ABS . In our case, we decided on the use of ePETG from Fiberlogy in Translucent Green and Vertigo, which, apart from giving it great rigidity, looks great on the printer.
| Setting | Configuation |
|---|---|
| Perimeters | 4 x 0.45 mm |
| Layer height | 0.2 – 0.3 mm |
| Infill | Gyroid 10% / Rectilineal 25% |
| Supports | Are not usually needed |

Chassis and kinematics
If we get any of the Ratrig kits we will have everything necessary to assemble the mechanical part which, together with the assembly documentation and the labeling that includes the screws, greatly simplify the assembly process.

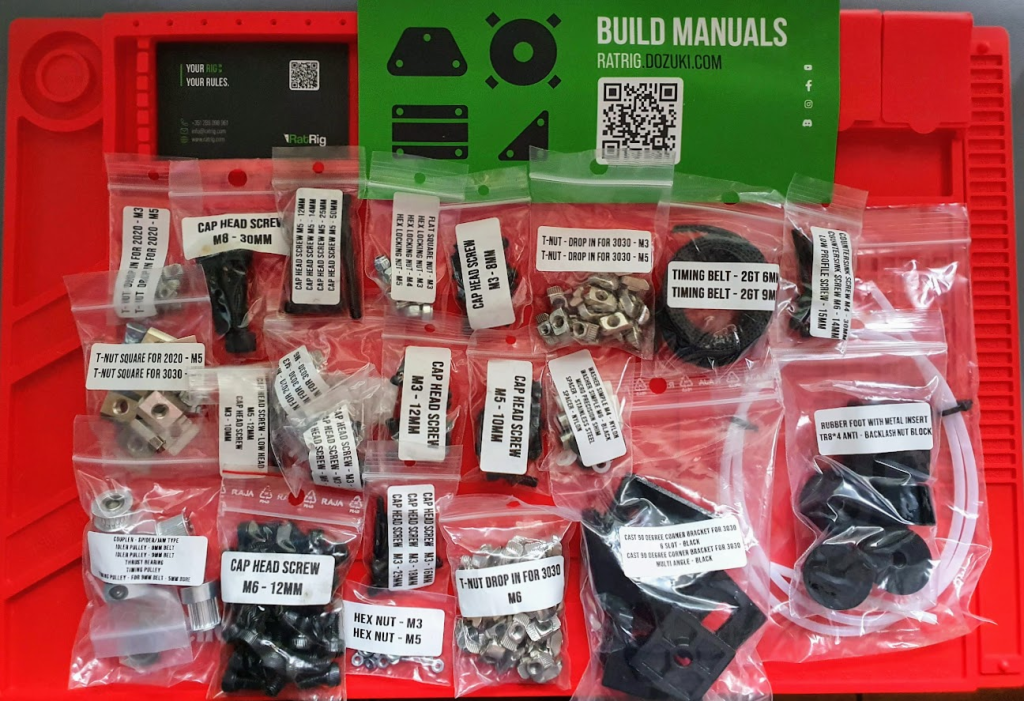
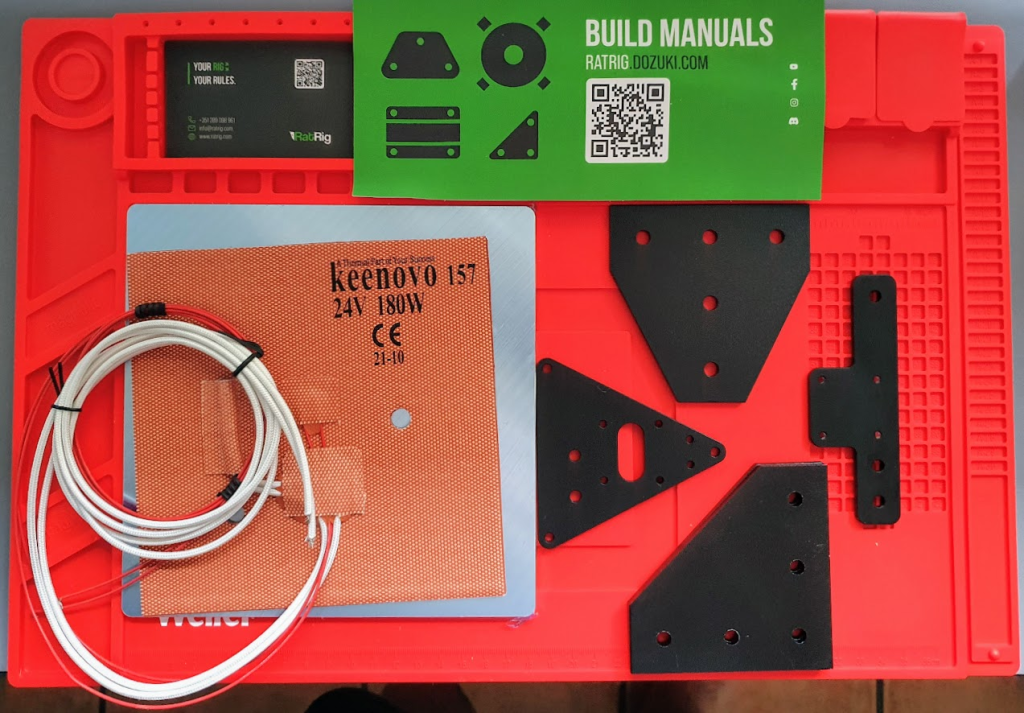
A good tip is to print the help pieces in the assembly of the machine which will allow us, for example, to correctly center the linear guides or the adjustment of the rod … you can find these help pieces here
On the other hand, you also have an installation video of the V3D companion that can also be of help.
As a summary of the process:
- We will begin by preparing the union pieces or brackets of the profiles following these instructions
- We will assemble the chassis in the next step.
- The Z-axis motor assembly in its anchor and chassis position
- We will continue assembling the Y axis and its kinematics
- We will install the bed
- We will install the filament roll support, in our case we opted for a simpler mod that you can find in the mods that we gave you above
- We will, in this case, the videos and instructions refer to EVA 2, in our case we chose to assemble EVA 3, the instructions do not differ much, and on the other hand we have the latest and improved version of this print head. we have to advise that if you use the EVA 3 you try to use the version with inserts as it is more robust and reduces the weight a little
The printer assembly is done!!!
Electronics
Once the mechanical part is finished we can start assembling the electronics, in this case we will start by assembling the box specially designed by Ratrig for our V-Minion.
As we have already mentioned, in our case we have opted for some mods and the electronics box was one of them since, although it works relatively well, it is one of the components that can be improved in both design and functionality.

We chose this box model to which we applied some redesign since it improved the original in various aspects, such as allowing installation under our V-Minion, more space and modularity for our electrical components, better ventilation system, etc…

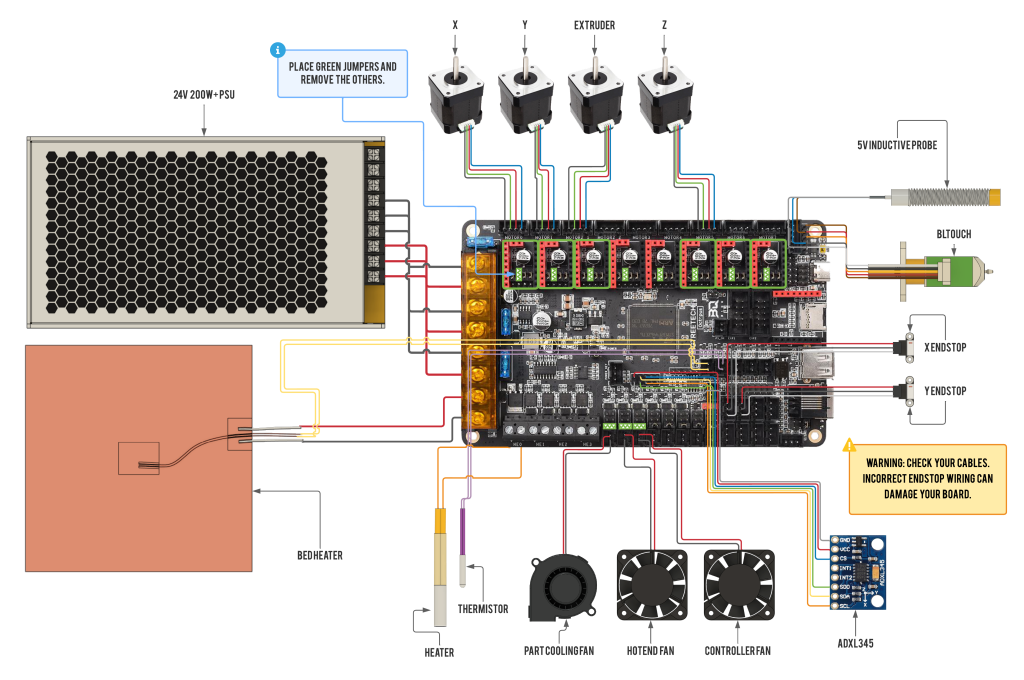
The full kit includes one SKR 2 and we leave you below the wiring diagram for this electronics. Although we also have direct support for the Octopus 1.1 although it seems to us that, this machine, is like killing flies with cannon fire.
This time we opted for the use of a SKR-Mini v3 that seems to us to be electronics more adjusted to a machine like the V-Minion and that it is relatively cheaper than the SKR 2. Another electronic that can go very well is the SKR Pico especially thought for machines that use Klipper.


Firmware Ratrig V-Minion
As we already told you at the beginning of this guide, RatOS is a distribution of Ratrig for Raspberry Pi that includes in its image all the components and configurations for Ratrig machines, although this does not mean that we can use RatOS for other machines.
We are not going to go into much detail explaining what Klipper is or how it works, but we would like to point out that it is an extremely versatile and powerful firmware, although on the other hand, it requires a certain learning curve.
Klipper basically consists of three basic components on which others can be integrated to extend the system.
- Klipper is the central component and is in charge of interpreting the gcode and controlling your printer.
- Moonraker is an API that allows you to bind external services to Klipper by exposing print states or methods to allow other services to talk to Klipper.
- UI/Interface allows easy control of Klipper using Moonraker to interact with it.
Rat OS includes Klipper, Moonraker, Mainsail and KlipperScreen with which having the environment is quite simple, although we also advise you to install Kiauh as you can see later.
RatOS installation
Klipper uses a host to run, usually a Raspberry Pi, which is the brain of the system and directly controls the electronics of our printer, which becomes a simple motor and sensor manager.
On the one hand, this forces us to have two or more electronics, we say two or more because Klipper is modular and we can control several electronics simultaneously, either to control one printer or several through Klipper instances, but on the other hand, it gives us incredible power and versatility.
To prepare our Pi we will start by preparing our SD (8GB or larger) with the Ratrig RatOS that you can download the image in its Github RatOS repository and burn it in our SD following these simple steps:
- We will download the image to their RatOS Github repository and “burn” it to our SD using Raspberry Pi Imager or balenaEtcher .
- When the process of preparing our SD is finished, we will insert it into our Raspberry Pi and turn it on.
- We will verify that our pi boots, keep in mind that depending on the model it may take a few seconds or minutes.
In the event that our Raspberry Pi has WiFi, it will create a WiFi access point called RatOS to which we will connect using raspberry as a WiFi password.
Once connected, we can open http://RatOS.local/configure or http://192.168.50.1/configure in our favorite browser where we will follow the wizard to finish configuring.
In the event that we use a cable directly, it will assign us an IP of our network if our Router has DHCP and with that IP assigned… that we can obtain it by consulting our Router, using an IP scanning tool such as Fing or connecting a screen to our Pi with the command ifconfig … and once we have it, we will go to the browser as explained in the WiFi option.
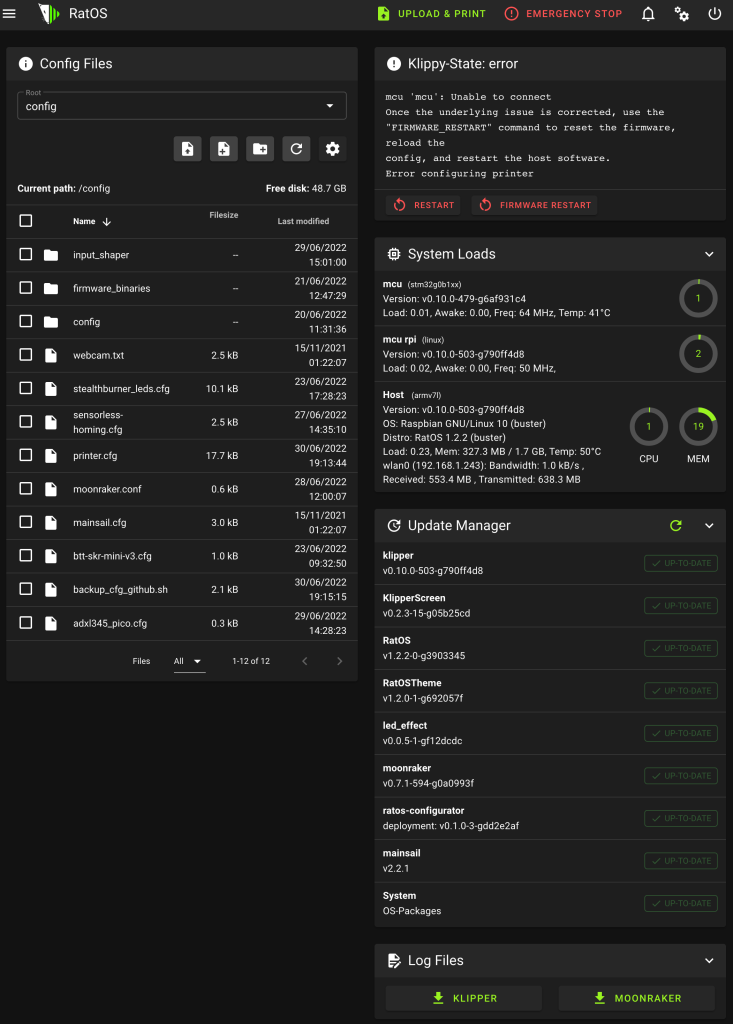
- By default in RatOS SSH, the command-line terminal is enabled and we will verify that we can connect via SSH since we are going to need it in different steps.
We suggest using Terminus which is a very easy-to-use cross-platform SSH client. - We will make sure that our Raspberry Pi correctly synchronizes the time, something important to avoid update problems and to correctly display the time in some functions. You can follow this guide.
- Something advisable, not mandatory, is to change the default password to access our Raspberry Pi. We will connect by SSH and execute
sudo raspi-config:- We will reset the default password
- We will configure the hostname if we want
- Installing Kiauh is not essential, but given that it can provide us with more tools that help us manage Klipper, we always recommend its installation, which is very simple by following the instructions here.
RatOS basic configuration
Now that we have the base of our Klipper firmware installed, we are going to start with its initial/basic configuration:
- We advise you that the first step to take is to check if we have pending updates and make them. To do this we will go to the MACHINE tab and in the Update Manager section we will click on the Refresh icon and if we have any pending updates we will apply them.
It is very important to have all components up to date before performing the following steps. - RatOS has greatly facilitated our work in some steps, one of them compiling the firmware for our electronics.
We have the COMPILE FIRMWARE macro that will leave us in the /config/firmware_binaries folder all the firmware for the supported electronics.

- Once we have generated our Klipper firmware and from the UI we will go to /config/firmware_binaries and download the appropriate firmware for our board and rename it to firmware.bin, again understanding that we use the supported electronics, we will copy it to the SD of our electronics to update it.
- As in the previous step, Ratrig has provided us with the pre-configurations of our printer.cfg, and the cfg included in it so that we can mount the cfg for our V-Minion, we will launch the INSTALL VMINION CONFIG macro

- Now that we have the Klipper firmware in our electronics and our cfg configured for our V-Minion we will be done with the basic configuration!!!
Initial adjustments
We already have the machine ready to continue with the important initial adjustments to be made before starting with the calibration steps.
PID settings
The PID adjustment is an important point to perform during start-up and whenever we modify any part/component related to the heating system of our machine.
The process is very simple and it is done very quickly, so we have no excuse to do it whenever we see abnormal fluctuations in temperature:
- Hotend/Extruder, we will launch the
PID_CALIBRATEcommand from the terminal, for example:PID _ CALIBRATE HEATER=extruder TARGET=200
Once finished we will doSAVE_CONFIGso that our PID configuration is saved in our printer.cfg . - Bed, in this case we will launch the command as follows:
PID _ CALIBRATE HEATER=heater_bed TARGET=60
Once finished we will doSAVE_CONFIGso that it is saved in our printer.cfg
Stepper motor kinematics
It is important to verify that our motors are going in the right direction, for this we have two ways to verify it:
- Using the command STEPPER_BUZZ STEPPER=stepper_x from the console where the value of STEPPER is the axis we want to verify.
You have more information about the process here. - On the other hand, RatOS makes it easy for us to work with the SET_CENTER_KINEMATIC_POSITION macro. To use it, it is recommended that we manually place our axes in the center of their path and run the macro.
The macro will define at Klipper that the machine is positioned at the center of its coordinates on each axis and will let us move the motors with the UI controls to verify that they are moving in the correct direction.
If we find that the movement is not in the correct direction we should check dir_pin within the PRINTER CONFIGURATION section of our printer.cfg and add or remove ! at the beginning of the pin definition
// Example of an X-axis inverted its direction
[stepper_x]
dir_pin: !x_dir_pin # Add ! in front of pin name to reverse X stepper direction
Checking endstops and z-probe
We can check the status of our endstops from our UI in the MACHINE tab where we will see an ENDSTOP STATE section .
You can also perform the process using console commands, you have more information here.
For the Z endstop we will use a leveling sensor in the process, apart from verifying the correct activation and logic of the endstop in the previous point, and we can use two processes to obtain the z-offset:
- simple method
- we will make a home of all axes
- we will put a sheet under the nozzle
- using the babystep controls in Z we will move the Z-axis until we notice that the nozzle makes resistance with the sheet when trying to move it
- we will launch the GET_POSITION command in the console that will return the coordinates // kinematic: X:0.000000 Y:0.000000 Z:-0.400000 (example)
- we’ll go to the PRINTER CONFIGURATION section of our printer.cfg and add the integer value of Z (0.4 in the example) to our z_offset:
- Precise method, if we want to use the precise way to adjust our z-offset we will use the PROBE_CALIBRATE helped following this procedure.
Slicer configuration
RatOS comes with some predefined macros that we can call directly from our slicer, which allows us centrally from Klipper to manage the start, end, or other gcodes that interest us.
We can find the START_ PRINT and END_ PRINT macros in config/printers/v-minion/macros.cfg. In any case, depending on our slicer, we will have to make some adjustments:
Start GCode
M190 S0 ; Prevents prusaslicer from prepending m190 to the gcode ruining our macro
M109 S0 ; Prevents prusaslicer from prepending m109 to the gcode ruining our macro
START_PRINT EXTRUDER_TEMP=[first_layer_temperature] BED_TEMP=[first_layer_bed_temperature]
End GCode
END_PRINT
Start GCode
START_PRINT EXTRUDER_TEMP=[first_layer_temperature] BED_TEMP=[first_layer_bed_temperature]
End GCode
END_PRINT
Start GCode
START_PRINT EXTRUDER_TEMP={material_print_temperature} BED_TEMP={material_bed_temperature}
End GCode
END_PRINT
Start GCode
START_PRINT EXTRUDER_TEMP={temperature_extruder1} BED_TEMP={temperature_heatbed}
End GCode
END_PRINT
Start GCode
START_PRINT EXTRUDER_TEMP=[extruder0_temperature] BED_TEMP=[bed0_temperature]
End GCode
END_PRINT
End GCode
END_PRINT
End GCode
END_PRINT
End GCode
END_PRINT
Other advanced settings
We already have the basic settings of our V-Minion ready, in any case, and in order to make it perfect, we advise you to make the following fine/advanced settings:
- Extruder steps calibration
- Pressure Advance
- Input Shaper
- Backup Klipper configurations to Github
- Moonraker Telegram
Interesting mods for Ratrig V-Minion
The Ratrig V-Minion, as a good DIY machine, has a large number of mods to improve it. Although we have already been indicating some of them, we have been compiling them in our Printables collection .
In any case, we list the ones that we apply to our machine that, although they are not strictly necessary, do give it a unique touch and some improvements:
- Instead of the original Ratrig parts from the basic kit we have used modified parts that improve some aspects of the original Ratrig parts that you can find
- We use the EVA v3, specifically the version with inserts that looks great. In addition, on the other hand, we made some modifications to the front trim to be able to install a pair of Neopixel LEDs for lighting the printing area as well as an event notification. We also add a few LEDs in the Z profile to have a second more general lighting.

- We chose this box model because it seemed like an improvement in design, functionality and versatility for what we were looking for.

- We added this mod to put chains on the Y-axis as we didn’t like the original design. Although we did not install it completely, you also have the mod for the X axis and for the Z axis.

User experience
The Ratrig V-Minion has a compact but very robust design that for a printer of the size and type, together with the Klipper system, will allow us a degree of quality and speed in our prints above the rest of similar printers on the market.
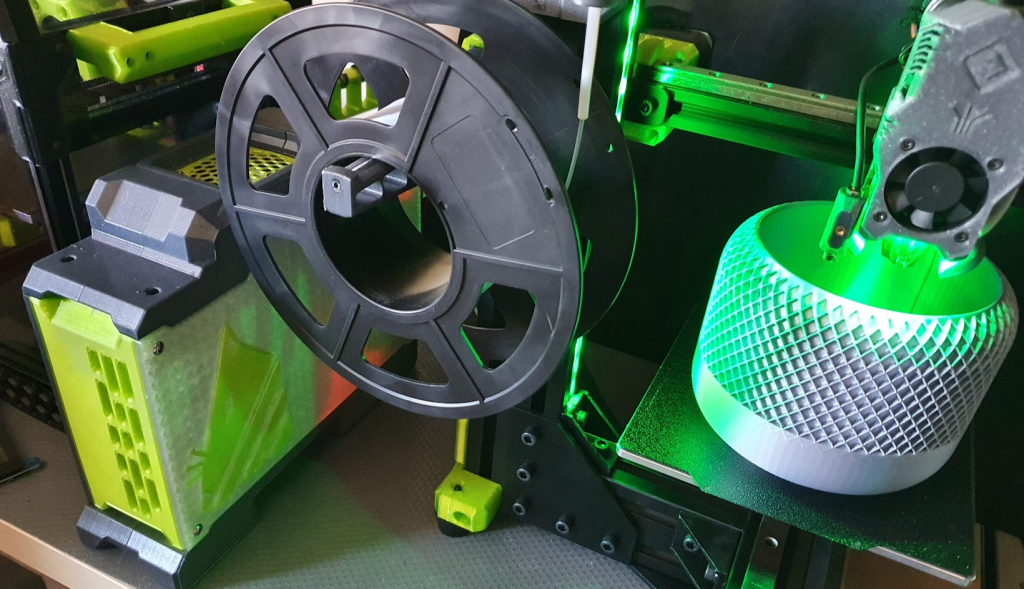
Thanks again to the great work of Ratrig with its documentation, and support videos, RatOS and its community growing every day have made the assembly and use of this little beast of a printer quite easy .
During the time we have been using it, both our test unit and others previously assembled, we can tell you that it has given us great quality and reliability in our prints .
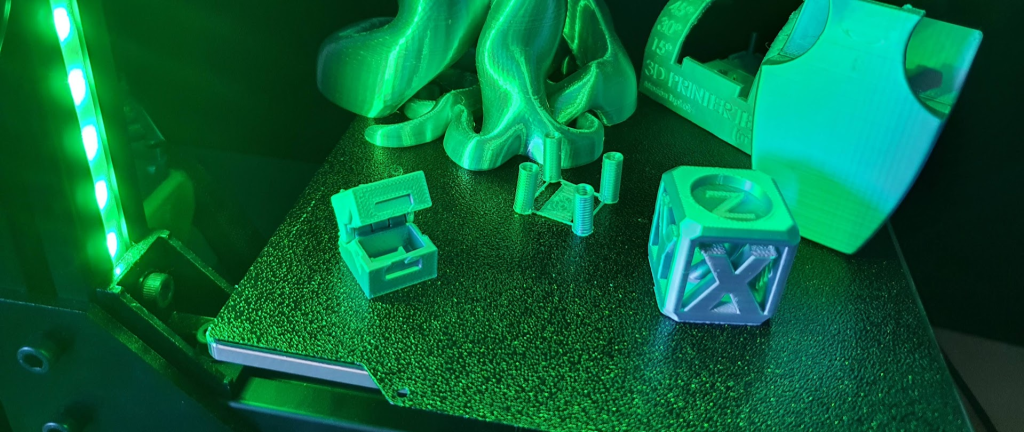
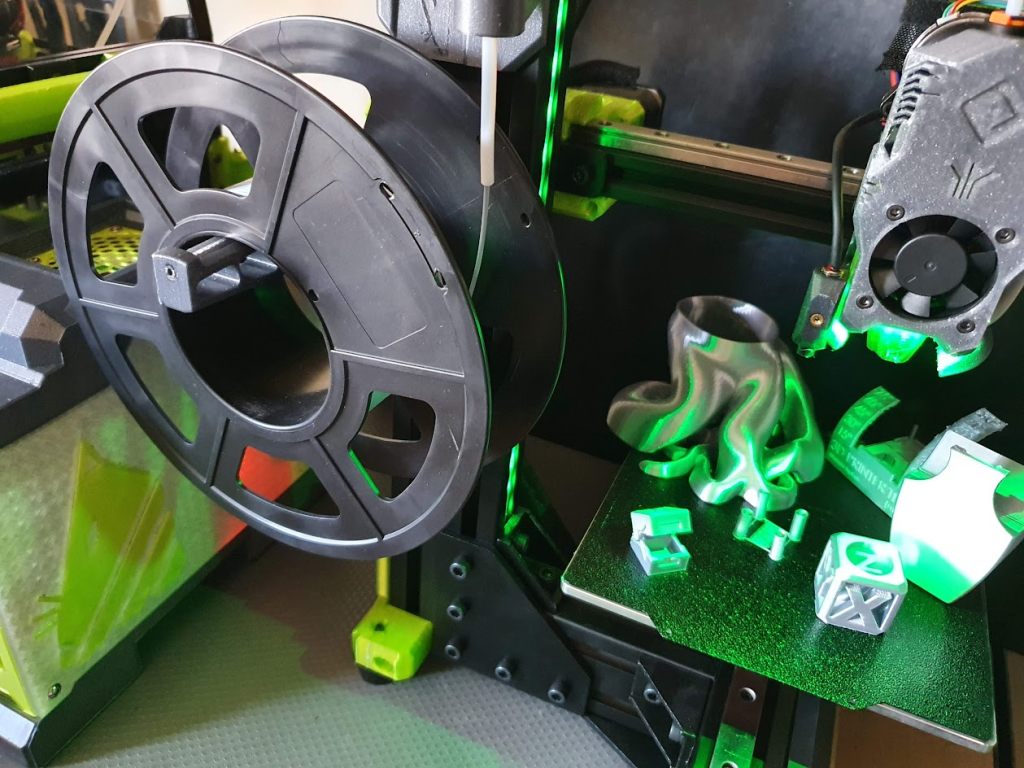
We show you some test pieces that have been made with hardly any fine adjustments on the machine using the profile provided by our laminates with speeds between 100-140mm/s, which in any case we advise you to do following our calibration guide.
Conclusions
The Ratrig V-Minion is a sensational, powerful, robust and very fast machine within the size/kinematic range, so we could say that this is a “premium” quality/price printer.
Although Ratrig have had some past issues with the quality and availability of some components we know they have worked hard to resolve them. The success of their machines coupled with the current context of component availability has created the “perfect storm” in some cases.
The effort in documentation, as well as with its RatOS, help make the set a printer despite its size, highly recommended if you want to seriously learn in the 3D world with a compact, powerful machine at an affordable price.
And that’s all, we hope as always that our article Ratrig V-Minion: Analysis, guide and configuration of this great little DiY beast has been to your liking.
Don’t forget to visit other interesting articles at 3DWork.io:
- ELEGOO Neptune 3: An excellent option to start in 3D printing
- Anycubic Kobra Plus: A great size for a great printer
- ELEGOO Saturn 2: Large size and higher resolution resin printer
- ELEGOO Mars 3: The new beast in 4K for resin prints
- Revopoint POP2: Quality, affordable, high-accuracy 3D Scanning
- SKR PICO: Analysis and complete guide of this great little controller
- Anycubic Mono X 6K: New Anycubic Mono X Printer Review
- Voron 0.1 Kit FYSETC: Analysis and configuration of this versatile/reduced 3D printer
- Slice Engineering Mosquito: A Spectacular Hotend for High-Performance 3D Printers











V-Minion is, somehow, the Better Pr*s* mini. Well, much better. Why join the prusa cult when you can get so much better?
Hi Arty,
If we discard the V-Minion and Prusa Mini are both 3D printers and have similar kinematics the rest is slightly different as explained on the review.
Why to choose one or another? Basically depends on user, their knowledge in 3D printing and their level to manage/configure 3D printers.
About specifications V-Minion is more powerful than Mini but in the other side Prusa Mini is the most similar in 3D printing as a paper printer, as an example of easy and simple machine management with low level of knowledge, and you have a really good support service from Prusa… And this is why basically depending on user one printer will be more or less perfect for their usage.