3D Part post-processing techniques are some of the least enjoyable tasks in 3D printing and the most lazy (at least for me personally).
Sometimes this work becomes something completely unavoidable. It can be due to the design or geometry, the layout of the piece or even its final function (such as a completely smooth finish).
In this short article of today we want to show an alternative technique for post-processing parts and drastically increase their mechanical properties. A very interesting video that is definitely worth watching.
And before starting the article, as I always do, I recommend that you visit our channel Telegram only suitable for “deranged” people of 3D printing.
Post-processing techniques of parts
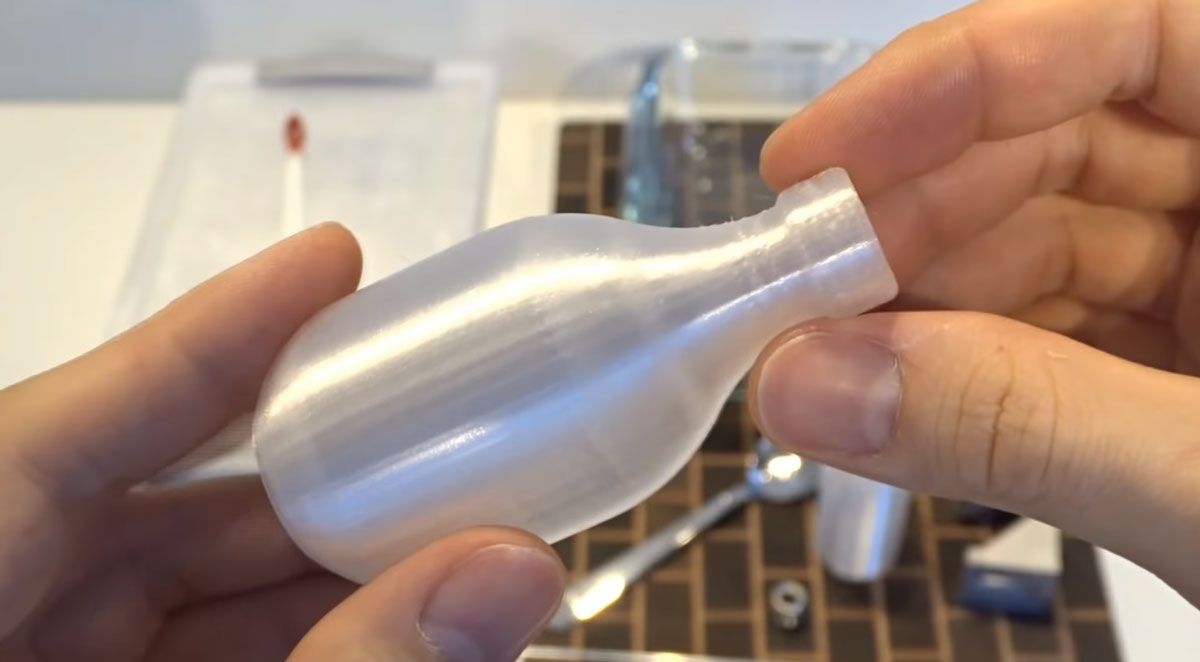
There are countless post-processing techniques for 3D printed parts. From the most common such as priming and sanding for a subsequent painting, going through using acetone vapors (parts in ABS), dichloromethane (parts in PLA) or directly using epoxy resins (such as the famous brand XTC-3D).
All these previously cited techniques are perfectly valid but in my opinion they share a general characteristic. This is that they barely alter their structure or mechanical properties, simply their external surface.
It is clear that in the case of epoxy, the piece will gain in rigidity, but simply on the outside of it, since it will be something “superficial” that will not penetrate the core. Its function will be rather aesthetic and to obtain a more professional straightening.
However, it is likely that you want to go further and be the case in which you need to increase rigidity and/or durability of a piece exponentially. Or who knows, just make it completely fluid and gas tight, which would be great in certain cases.
Annealing parts to increase properties
Last week I was very pleasantly surprised by a fairly straightforward part post-processor technique, shown by a Youtube user named free spirit
In it, he explains to us how he does to give his 3D-printed parts greater mechanical properties, and that it works quite well in the thermoplastic materials with which we usually work.
It consists of heating the plastic (or annealing) to a temperature high enough for it to melt and the layers to bond together. In this way we will obtain a completely homogeneous piece similar to the result of an injection molded piece (saving the distances).
This heat treatment is not new. In fact, it is widely used in metals to soften and recover the original structure of the metal before being worked and to eliminate possible internal stresses that are generated in it.
Alternative to annealing (by CNC Kitchen)
Here is another video from partner Stephan (from the channel CNC Kitchen) increasing the hardness of some of its test hooks by up to 300%.
Stefan performs a similar technique but with much more “industrial” machinery and, of course, with his famous DIY Tester so popular on his channel.
Anyway, free spirit part of the premise of achieving it without using the resources that Stefan always has in most of his videos (something unthinkable for most of us).
And I honestly love it, since simply using salt and an oven makes this technique available to almost most makers without the need for a major investment.
Annealing procedure
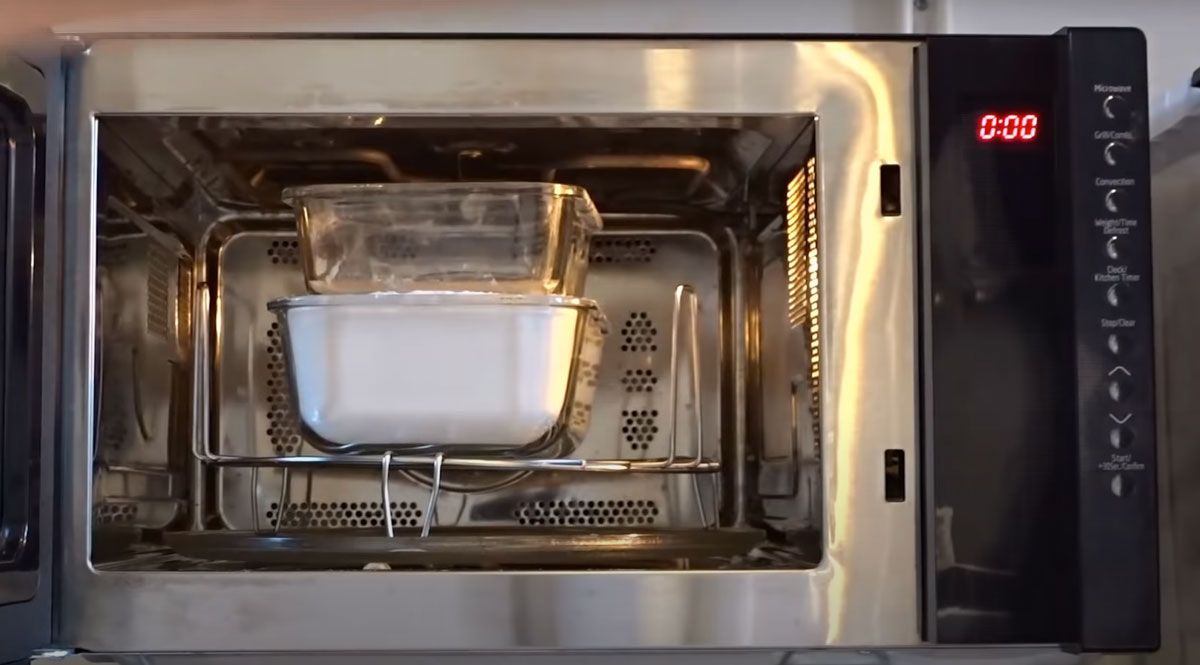
The way to do it is quite simple since you only need your printed pieces, salt and an oven, as you can see in the video above.
It basically consists of introducing your pieces in a vessel or container completely filled with salt, filling all possible cavities and heating it to a temperature and time determined by the thermoplastic itself to be annealed. The tested temperatures are as follows: 240ºC/464ºF(PETG) and 230ºC/446ºF(PLA) for 45 minutes in both cases.
In this way, there should be no expansion of it, keeping its original dimensions intact (as far as possible) after the process. It should be noted that the pieces must be printed with 100% filling, so that all the layers can be completely joined.
One of the drawbacks is that the salt has to have access to any cavity (even a tiny one) or part of the part, otherwise it will be exposed to deformations. Therefore, the grains of salt must be ground to its minimum expression. At this point you can use a coffee grinder or similar device that can do the job.
The great advantage of this technique is that it will give our pieces greater hardness and, incidentally, it will make them completely hermetic for the use with gases or fluids , as the user himself demonstrates in the video by injecting them air under pressure.
I hope and wish that you liked this article and in case you try to use this method, do not hesitate to expose your results in the comments section at the end of the article.
Do not hesitate to read other interesting articles that you can find on our website:
- Marlin Builder: Update with support for version v2.0.6.1 and factory preconfigured firmwares
- Monoprice Cadet: Safe 3D printing for kids and beginners
- New review of electronic BTT SKR MINI E3 V2.0 for your Ender 3 printer
- Closed-Loop Motors: Makerbase MKS Servo42b (Brief analysis)
- Complete guide SKR v1.4 / v1.4 Turbo with TMC2209 Sensorless drivers and Display TFT35 V3.0
- DyzeXtruder Pro: Analysis of a high-performance extruder for professional environments
- MKS TFT35 Display: Latest updates v106 and v107 available
- The Spaghetti Detective: Monitoring Octoprint from the Internet safely













Déjanos un comentario