If you are deranged by 3D printing, you have probably once left your machines printing without any monitoring. This is a fairly common practice, although it is certainly not recommended, since many problems can arise during the printing of your pieces.
However, applications like Octoprint help us with the monitoring of our printer in a spectacular way. Being able to remotely access your printer’s parameters and modify them in real time from your mobile phone is priceless.
At 3DWork some time ago we dedicated a series of articles to Octoprint. So if you are not familiar with this app, I highly recommend you to read our article Octoprint: Manage your 3D printer remotely with Raspberry Pi and Octopi to put you in the background.
In addition, once you know it you can enjoy the great infinity of plugins (or extensions) that it has. Among them you will find authentic pearls that will make your life a lot easier, as you can also check in this other article The 10 most interesting Octoprint plugins (and how to install them) .
What is The Spaghetti Detective?
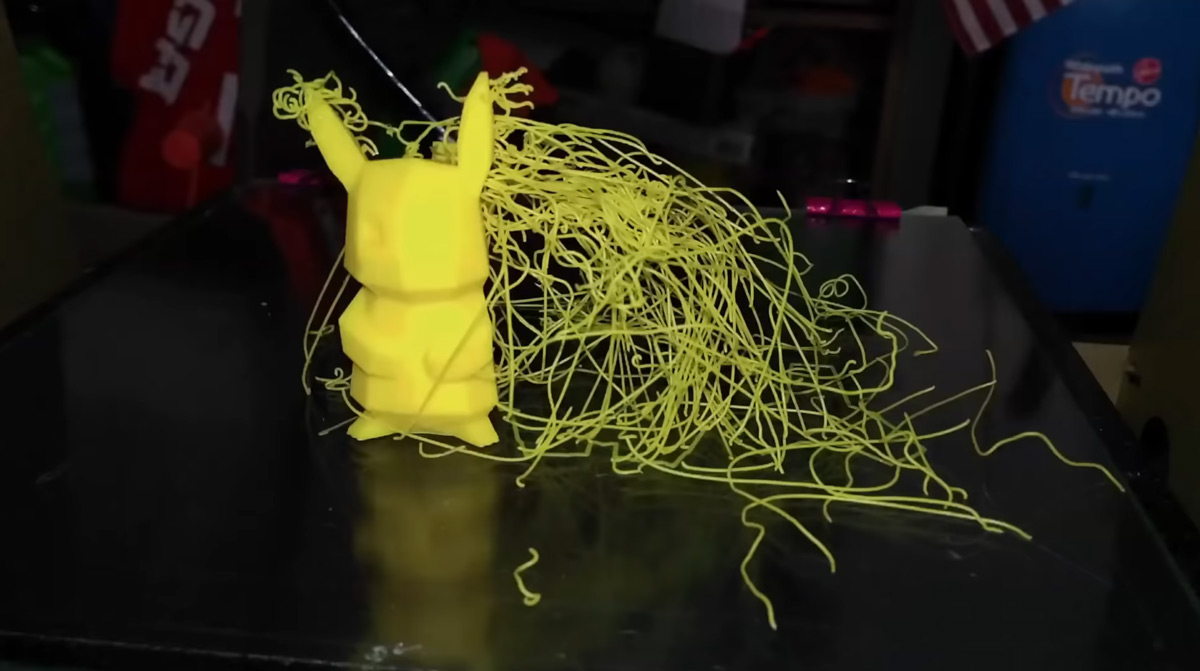
The Spaghetti Detective is open source artificial intelligence software based on Deep learning which deals with “detecting” failed prints. Or as they indicate, spaghetti flooding our printing surface.
The process is relatively simple and through our webcam (USB or native Raspberry Pi) the software itself will take photographs that will later analyze and notify us if our printing is failing or not, with a relatively high success rate.
In the video below you can see how, after detecting a foreign object in motion, it “pigeonholes” it in a green square and assesses whether it may be a failure of our printer or not. If it considers a negative result, it will launch the notification or scheduled action.
These notifications may be via Email, Telegram or PushBullet if we use the free version, or you can also send SMS to our mobile, if we opt for the professional version. Quite interesting if we have high production environments or 3D printing farms certainly.
With The Spaghetti Detective you can not only monitor a single printer, but it allows you to manage the number of them you need. However, to monitor a group of printers you must choose a payment plan, although they are quite cheap as you can see in the next link.
Also, being an open source software, if you are paranoid about security and do not want to use the cloud for this purpose, you can always install your own server on an old computer that you have at home or even on a Jetson Nano card from the well-known NVIDIA brand.
This way you will have everything in local mode and minimizing any possible security breach. The server fonts can be found in the The Spaghetti Detective repository on Github, as well as all the instructions for their installation in the next link.
YOLOv3: The algorithm behind the plugin
The Spaghetti Detective uses Deep Learning to learn and improve detection of these flaws in our impressions. To do this, it uses its own specific learning algorithm for such a task that Kenneth Jiang developed.
This was based on another existing and well-known algorithm called YOLOv3 for detection of moving objects in real time. In the following Youtube video you can see YOLOv3 in action working even with multiple images without any problem.
If you are interested in the topic, you can find more information about Yolov3 in the next link, as well as comparisons with other detectors, performance, technical information and much more.
Necessary components
Here I leave some of the components that appear in today’s article. It is my duty to inform you that they are affiliate links to different Internet Marketplaces.
If you use them I will have a small commission and you will be contributing your grain of sand to the 3DWork project.
| Raspberry Pi 4 | |||
| MicroSD Card + Reader | |||
| Power Supply 3A | |||
| Case (optional) | |||
| Jetson Nano (optional) |
Install and configure Octoprint
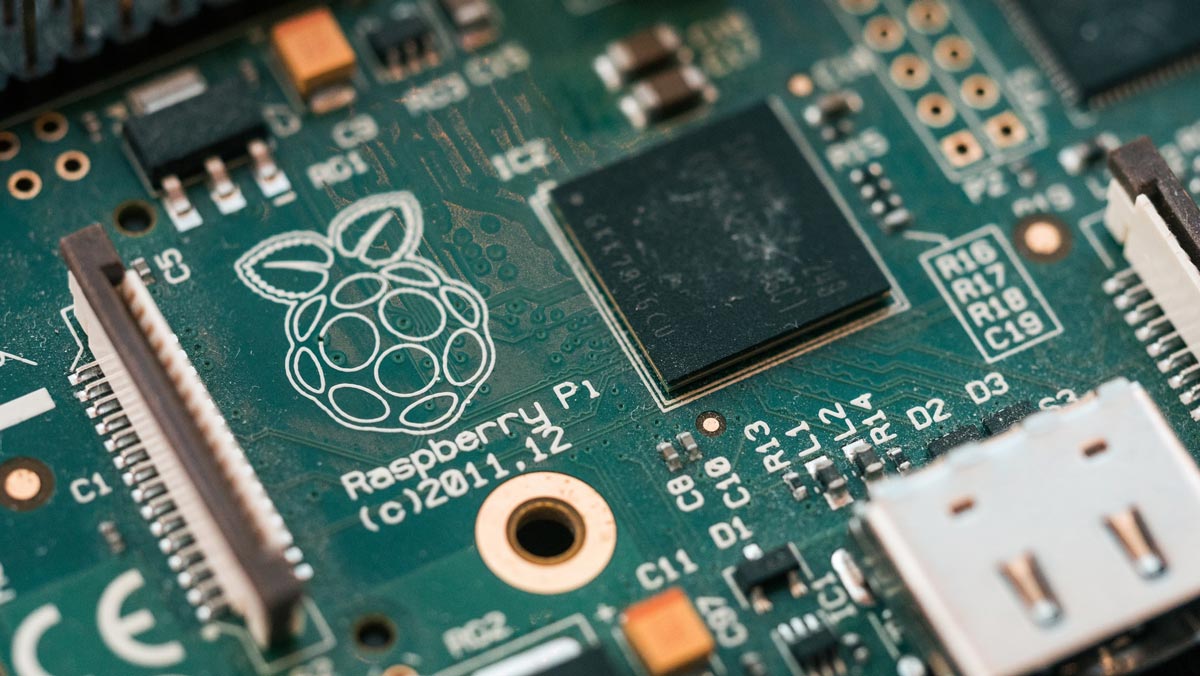
It is essential to have a Raspberry Pi with Octoprint installed, otherwise we will not be able to use The Spaghetti Detective. Installation and configuration is an extremely simple process that you can tackle in just a few minutes.
In this article we are not going to explain the full process, since as I mentioned previously we have an extensive and detailed article that will help you at the following link:
Octoprint: Manage your 3D printer remotely with Raspberry Pi and Octopi.
Once you have installed Octoprint and configured it correctly, you can continue with the following points in the article.
Installing “The Spaghetti Detective” plugin
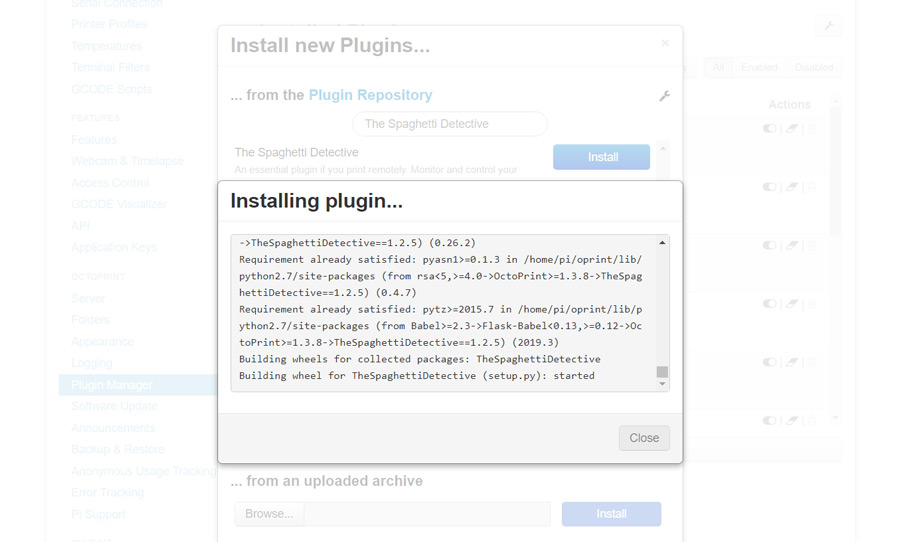
The first step we must take in order to use The Spaghetti Detective is to install the eponymous plugin available for Octoprint. To download it, we will go to our browser, we will access Octoprint and we will go to Settings -> Manager Plugin.
We will press the “Get More…” button and enter “The Spaghetti Detective” in the search field. Click on Install and in a few seconds it will be installed on our server, ready to use.
Create access account
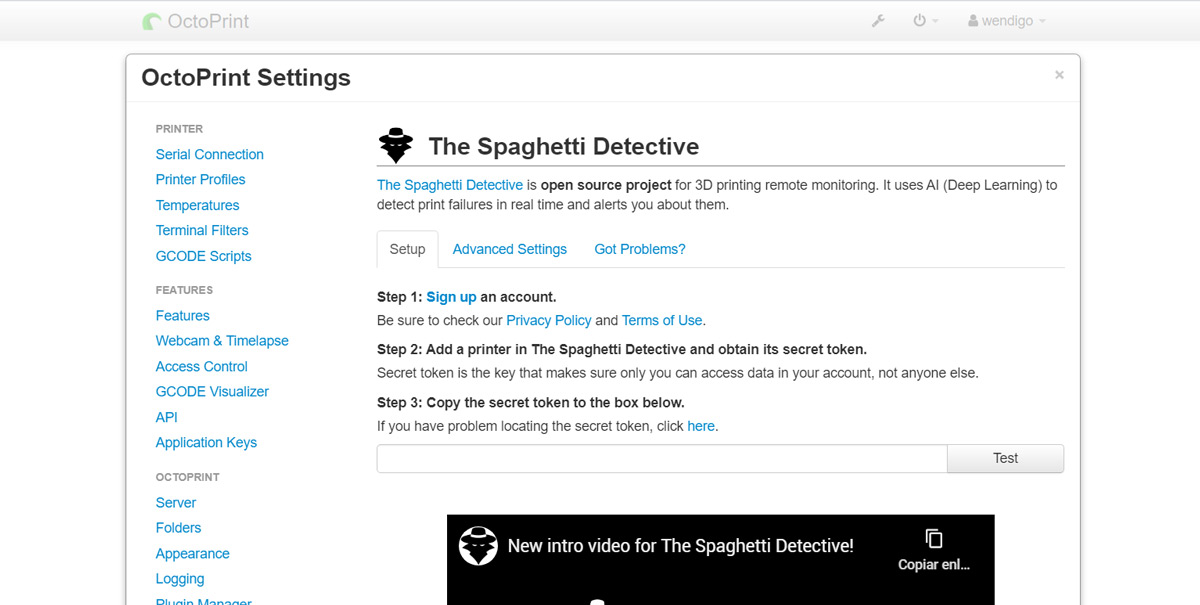
After installing the plugin, the Octoprint server will recommend us to restart the server. Once restarted if we go to Settings we will see that in the left column, at the end of everything, “The Spaghetti Detective” will appear, available in the PLUGINS section.
We will click and a section of 3 simple steps will appear to finish the configuration of the plugin. The first will be to create an account on the website, which we will access by clicking on “Sign up” or on next link.
Obtaining our TOKEN
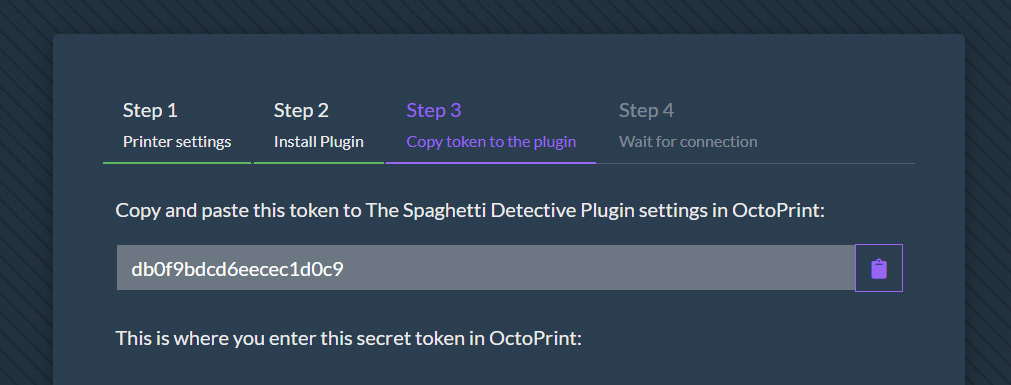
Once we have registered on your website, we must register our printer, so we will click on “Add Printer” and we will access a form. It will ask us for the name that we want to give to our machine and what action to take when a problem is detected in it (notify or notify and pause printing).
Then it will indicate us to install the plugin (which we have previously installed) and if we continue it will provide us with a TOKEN (or password), to link the web with our Octoprint server.
Introducing TOKEN in the plugin
With the TOKEN in our possession, we will return to Octoprint again and enter it in the field where we are requested. After pasting the TOKEN there, we will press the “Test” button and if everything is correct the system will let us know with the following phrase:
Secret token is valid. You are awesome!
And with this we will have already configured and linked “The Spaghetti Detective” on our brand new Octoprint server, congratulations!
Some recommendations

The Spaghetti Detective is not always perfect and you may err when trying to spot a problem. Remember that the algorithm literally “learns”. However, having sharper, well-lit images will greatly help the software to correctly detect most problems.
To improve detection possibilities everything is clearly summarized in 3 basic points, angle, lighting and focus, nothing more.
With focus we mean that the camera should cover practically the entire printing surface, as is logical. We will also avoid including too much background, so there are no cables or other elements that could confuse our detective.
For lighting, make sure the environment is well lit. In case you turn off the light during printing, you should leave a small lamp illuminating your printer. Also, you should avoid any backlight. This means that your printer is not between the camera and the point of light, but that the camera and light are arranged on the same side. Finally, it minimizes the possible shadows that may appear.
And about the focus because there is little to speak the truth. The sharper the capture, the better our detective processes the data , overwhelming logic. So I recommend that you waste a little time finding the perfect fit, in case your camera doesn’t focus automatically.
There are various tutorials to adjust approaches on some of the most common cameras used with the Raspberry Pi. I leave here some links to the same that I hope can help you:
Well, I hope and wish that this new and short article has been to your liking. Please do not hesitate to add us to our social networks (Facebook, Twitter, Instagram) or visit us on our channels at Telegram and Whatsapp, this way you will be supporting our project.
You can find more interesting articles at 3DWork.io in the following links:
- Powering the Raspberry Pi from the power supply of your 3D printer
- Booting our Raspberry Pi from USB with an SSD hard drive (or pendrive)
- Maker Ultimate 2: Review of the latest Monoprice printer
- Analyzing the new resin printer Phrozen Sonic Mini (Review)
- MKS Robin Nano v1.2: Analyzing the new MakerBase 32bit boards
- Hollow 3D objects with ChiTuBox to save resin
- 10 reasons to use ChiTuBox with your resin printer (SLA / DLP)









Déjanos un comentario