Today in 3DWork.io we propose 6 Reasons why you should use glass bed in your 3D printer. As you well know, there are a large number of surfaces available for our 3D printers, and we will talk in the article a little about this.
If this article generates some kind of controversy (hopefully so!), And you think that it is not a good alternative, do not hesitate to indicate it at the end of the article in our comments section.
Or better yet, go to Telegram channel of our website and join us in any of our social networks.
Brief introduction
It is clear that we have many options for our printer. Magnetic surfaces, PEI sheets, metal strapping, glass, masking tape and much more.
But in my opinion, glass is one of the best alternatives to consider, and it is certainly the one I use regularly in my prints.
I do not mean to state categorically that printing on glass is the best option of all those currently available. But if I want to state a number of reasons why you should take it into account.
Also, you should never forget that when printing the bed it is certainly not the only variable that influences the final result of our pieces.
Where to buy my glass bed
Here you have some of the components that appear in today’s article. It is my duty to inform you that they are affiliate links to different online stores or Internet Marketplaces.
If you use them, I will have a small commission left and you will be contributing your bit to the 3DWork.io project.
6 Reasons to use glass in your 3D printer
Well, let’s go there with the reasons indicated in the title of our article today.
There will probably be some other reason that has escaped me, I am completely sure, but these 6 are enough to assess whether or not we should use glass in our 3D printers.
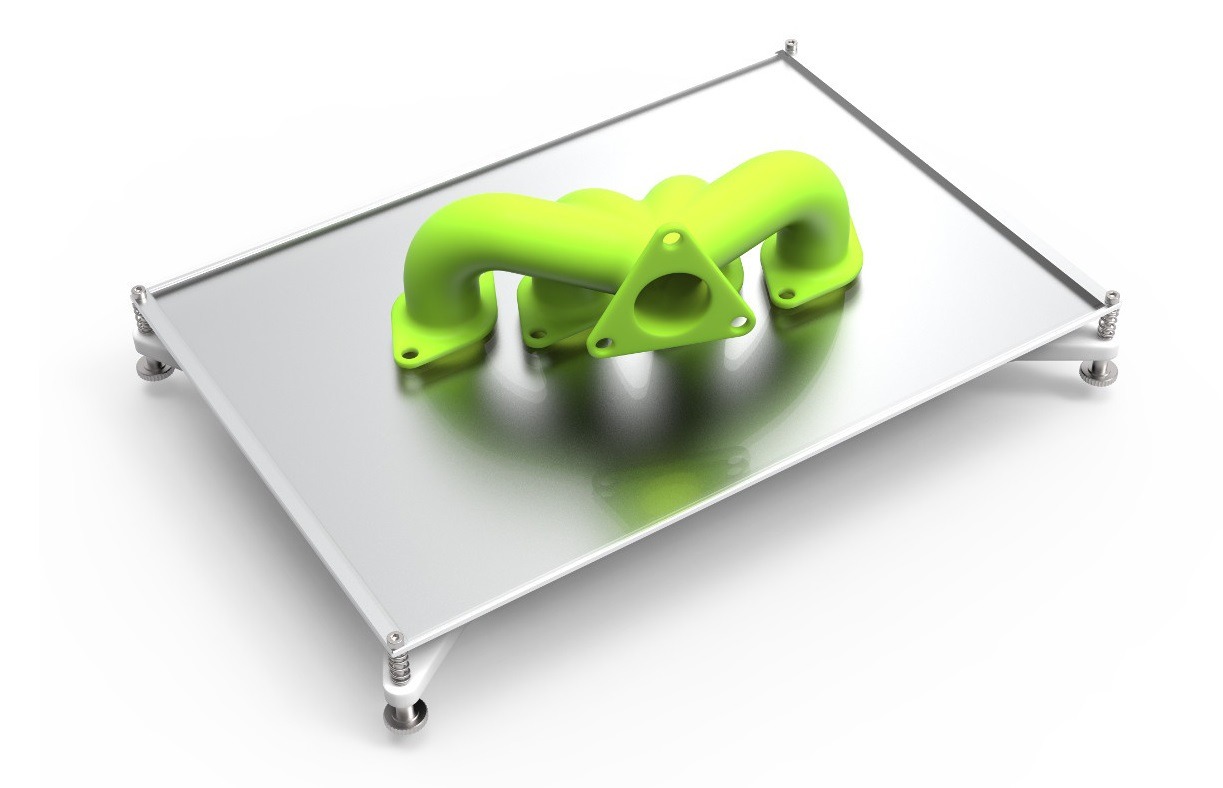
The glass is extremely flat
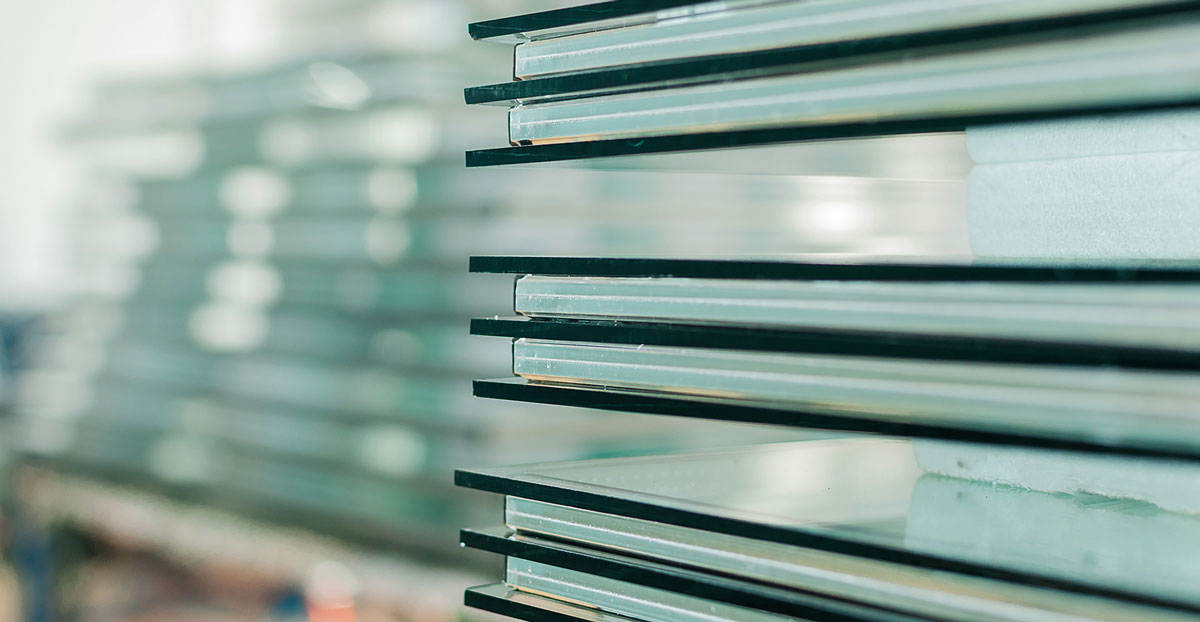
Most commercial 3D printers, or at least quite a few, do not have glass beds as the printing surface. The beds that are supplied are usually made of painted aluminum or with some type of special surface. These surfaces are not completely flat if we compare the four corners with the central part of it.
The reasons can be diverse. From the thickness of the material itself, which can weaken it a lot, going through machining operations that deform it or simply that the quality of it is quite mediocre (think that most come from China or are Low-Cost printers).
Obviously, the quality of our printing depends on many factors as we all know, but one of the most important is the leveling of our bed.
This can lead to later problems such as Warping, which we have talked about exhaustively on several occasions and particularly in our article Warping: A complete guide to permanently remove it from your 3D prints, which we recommend you read as always.
However, a good glass bed will always remain flat and completely smooth. I’m not going to fool you, that doesn’t solve the leveling problems 100%, but it does solve a large part, of that you can be sure.
It is a fairly inexpensive material
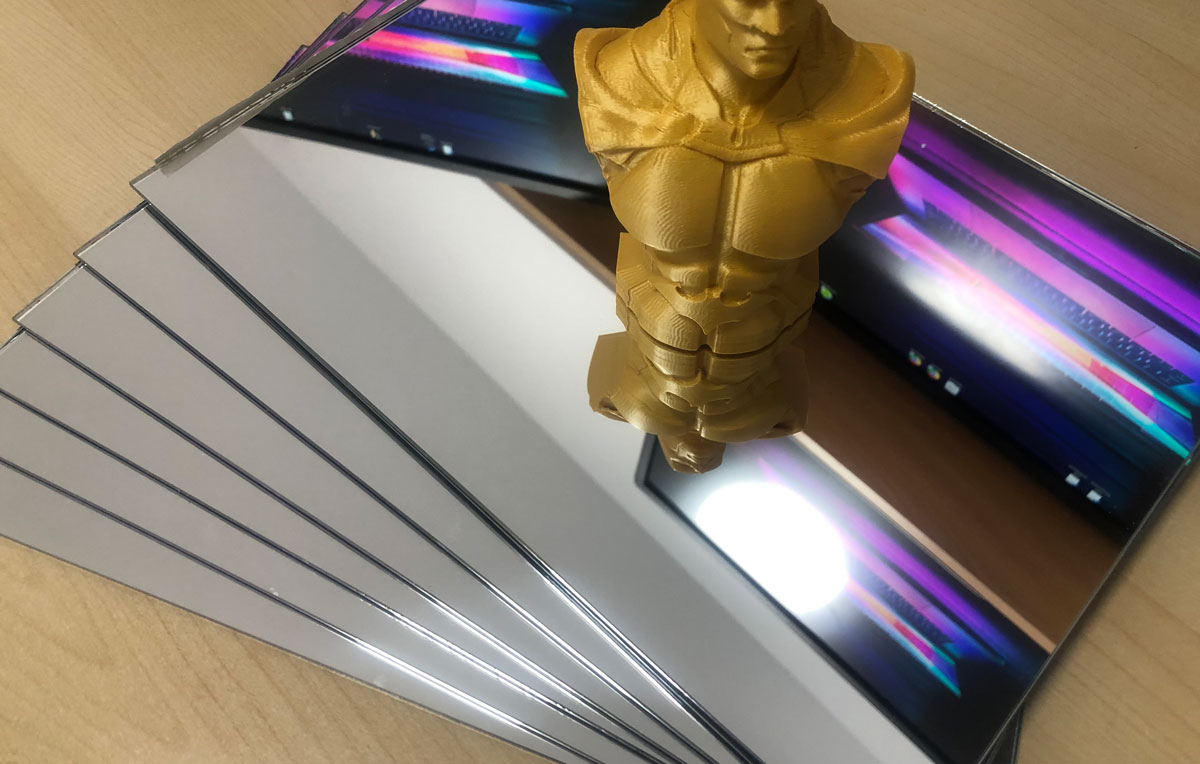
Think about it, it’s actually one of the cheapest upgrades out there. You do not invest time or need to build printed parts, just buy the bed the size of your printer and mount it on top, easier than ever.
You have borosilicate glass beds from 9 euros onwards, always depending on the size of it. Borosilicate, in case you are unaware, is a more common type of glass with great resistance to thermal shock. In other words, it won’t break when there are sudden temperature changes on it.
However, you have cheaper alternatives if possible. For example, I use mirrors that one company in my city cut to size for less than 2 euros unit. I bought 10 pieces and at the moment I have not had to replace a single one (and that they are 2.85mm thick, as you can see in the image above).
Very easy to clean
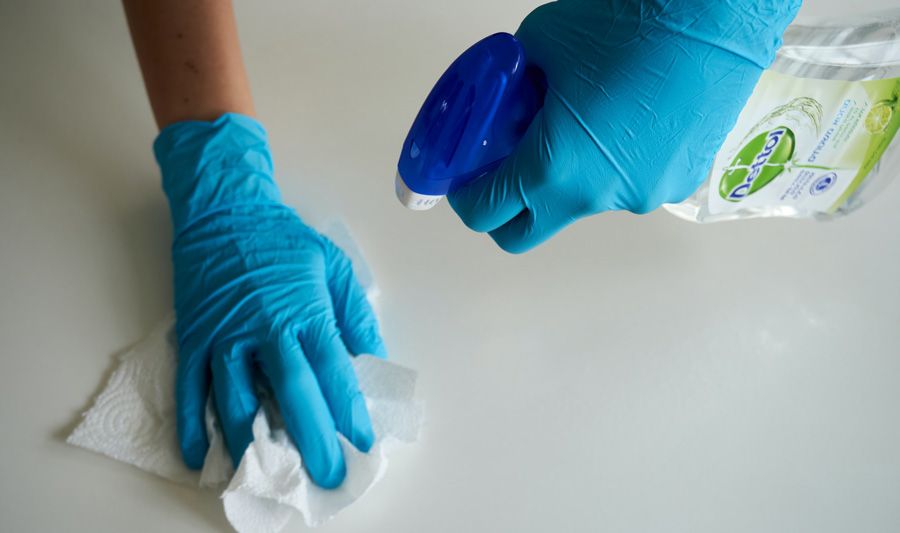
Cleaning a glass bed can take less than a minute. You can use alcohol that perfectly dissolves the lacquer and then pass a little kitchen paper to remove the residue.
Or if for example you have more complicated remains, use a scraper or blade to remove them completely, always being careful not to cut yourself.
In other beds you must use plastic scrapers to avoid damaging them, in these that would be very complicated, since scratching the glass (or mirror) with a blade is quite difficult.
Save preparing time
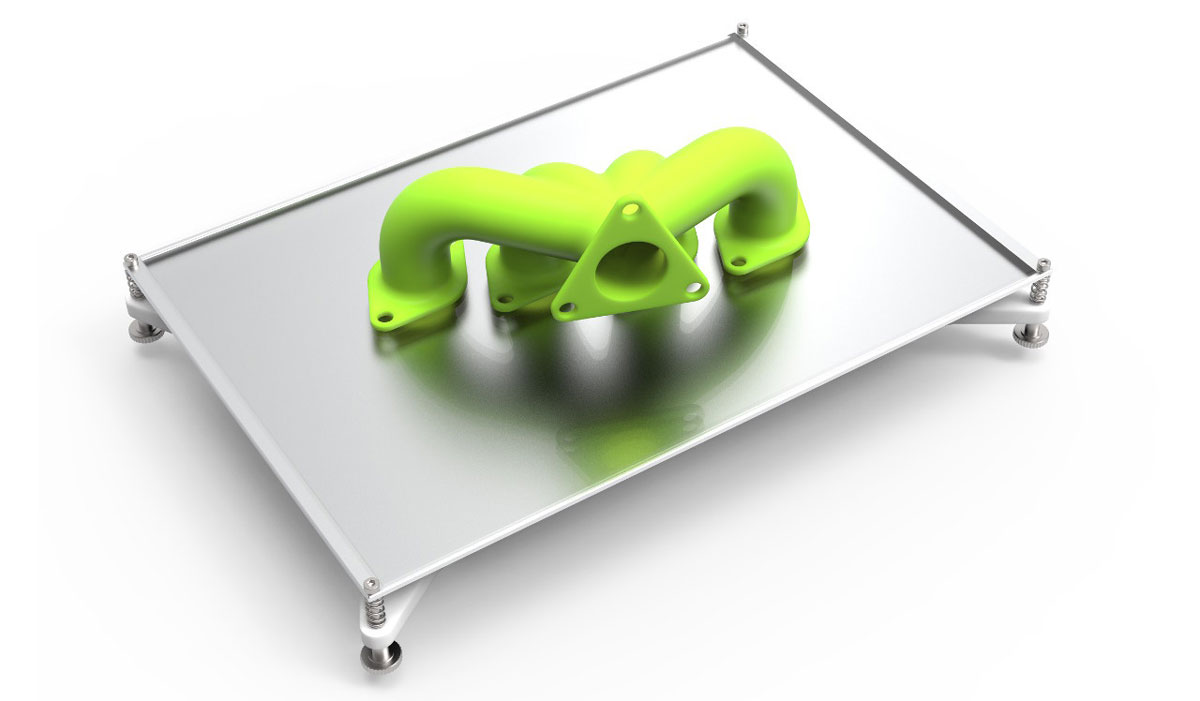
Replace surfaces like BuildTalk, Masking tape or Kapton tape leads their time (and in some cases they leave residue). Without the need for these types of surfaces and with cleaning, in less than a minute you will have your printer ready to melt plastic again.
In the end, as you well know, all the time adds up, and when you start adding more and more operations, something that you thought would take 10 minutes, it ends in half an hour. Or has it never happened to you?
Mirror surface finish
If you’ve ever seen a piece with a completely shiny face, it was printed on a glass bed. The very nature of it gives that aspect to the piece, being really impressive and of course, without any additional texture.
And if you also use that piece in a montage and that face coincides with the “public view” part, you have hit the mark, since visually it is spectacular.
Effortless part removal

Surely on some occasion you have printed a huge piece, and then you have seen them to be able to remove it without damaging any part of it. Or, in the worst case, you have broken pieces by prying with an object. We have all suffered that in our flesh.
In the case of using glass, you should simply wait for the bed to cool down. In many cases you will hear small “creaks” of the piece detaching itself from it (due to the contraction of the plastic when it cools).
And in the unlikely event that it didn’t come off easily, a little trick. Take the glass and put it in your fridge, in 5 minutes the piece will loosen by itself, as you hear it.
Forget scratching or prying and damaging your parts, and of course, save time and effort. Believe me, you will notice the difference.
Well, seeing all this we have reached the end of the article. I hope you are 6 Reasons why you should use a glass bed in your 3D printer has been to your liking, or at least has been able to offer you a broader perspective.
I hope and hope that this article could have been of interest to you. If you wish, you can find other interesting articles in the following links:
- Closed-Loop Motors: Makerbase MKS Servo42b (Brief analysis)
- Complete guide SKR v1.4 / v1.4 Turbo with TMC2209 Sensorless drivers and Display TFT35 V3.0
- DyzeXtruder Pro: Analysis of a high-performance extruder for professional environments
- MKS TFT35 Display: Latest updates v106 and v107 available
- The Spaghetti Detective: Monitoring Octoprint from the Internet safely
- Powering the Raspberry Pi from the power supply of your 3D printer
- Booting our Raspberry Pi from USB with an SSD hard drive (or pendrive)
- Maker Ultimate 2: Review of the latest Monoprice printer







Déjanos un comentario