Among the different printers that pass through our laboratory, one that pleasantly caught our attention was the Monoprice Cadet. A printer with a great build quality and focused on children or beginners who get into 3D printing safely and most importantly, without major complications.
And following that interesting line, so characteristic of the company Monoprice, this time they have given us a unit of the Monoprice Mini Delta V2. A printer similar in functionality to the Monoprice Cadet but in a curious Delta format.
Before continuing with today’s article, I want to remind you as always not to hesitate to join our social networks Facebook, Twitter and Instagram, and even visit us on our channel Telegram.
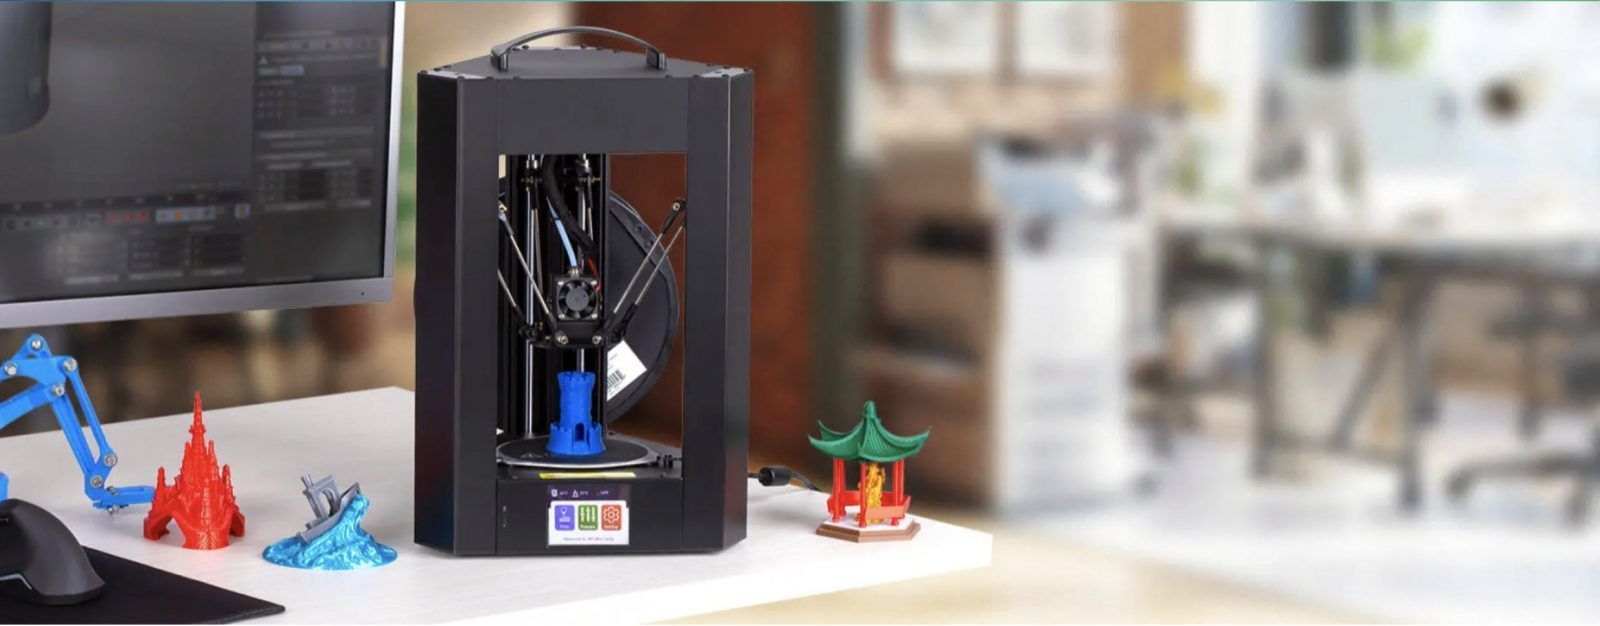
Monoprice Mini Delta v2 printer
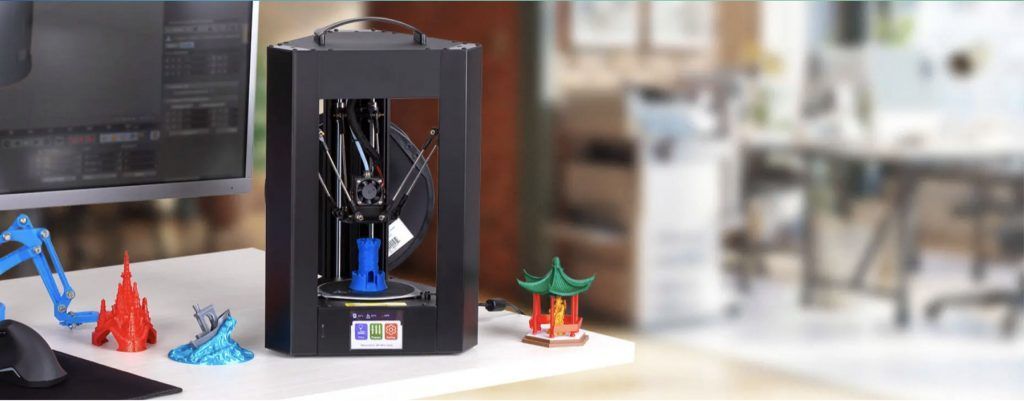
The first thing that will draw our attention about this printer is its kinematics, since it is not a Cartesian printer, like most desktop printers on the market. The Monoprice Mini Delta v2 uses 3 arms to move its extruder on its completely static circular bed (and without any movement).
These printers are called Delta, and were designed to increase your performance (or rather speed) when printing parts. This higher speed is possible thanks to the fact that the heads are usually extremely light and because they are driven at the same time by their 3 motors available for this purpose. And all this with little loss of quality.
And to all this we would add, in the particular case of the Monoprice Mini Delta v2, great ease of use and a certainly affordable price, something that is always appreciated.
In addition, all this without forgetting the security aspect, since any 3D printer reaches high temperatures, and moving parts. Something that the company Monoprice has once again had in mind for novice users.
Where to buy the Monoprice Mini Delta v2?
You can buy the printer on its official website for approximately € 169, although you can also find it available in other online stores such as Amazon.
Here are two links to the printer. It is my duty to inform you that they are affiliate links. If by chance you use them, the price of the product will be the same as if you access regularly, but 3DWork will have a small commission that will help maintain the continuity of this website.
If you wish and as an alternative, you can also use our Markets.sx component search engine, where you can compare prices on different sites (Amazon, Aliexpress, Banggood, etc.) with a single search very easily.
Package content
In the following table you will find a list of all the elements that you will receive when you purchase a Monoprice Mini Delta v2, which will facilitate daily use and maintenance.
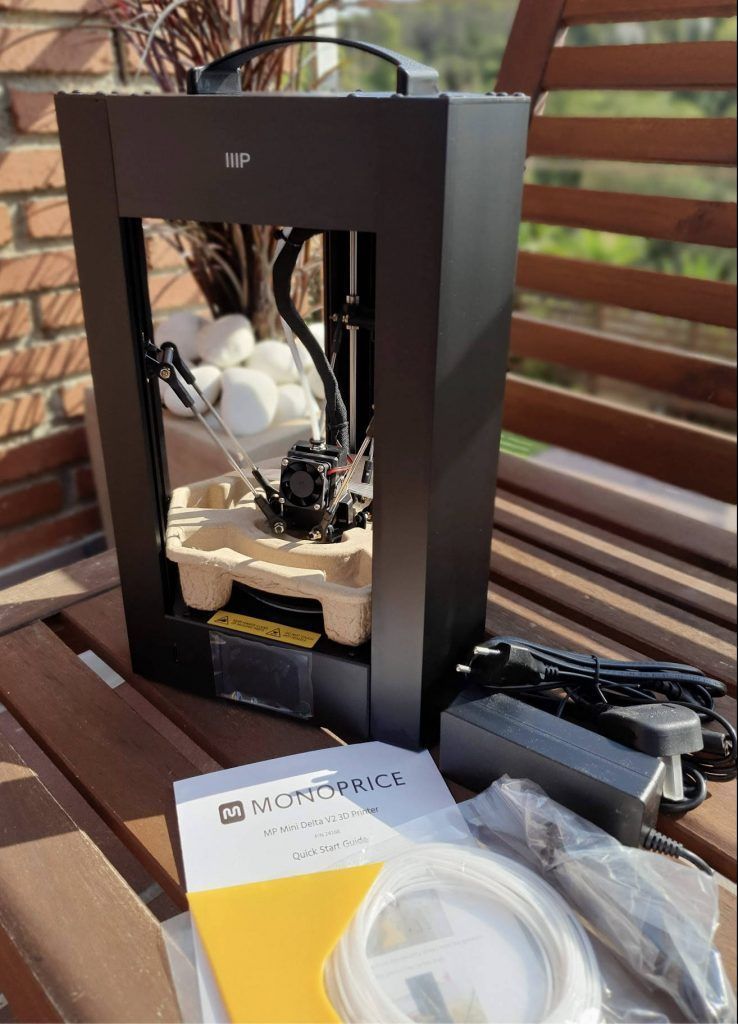
| Packaging | |
| 1 x Monoprice Mini Delta v2 | 1 x MicroSD™ card |
| 1 x Filament support | 1 x Hex key set (1.5-2-2.5mm) |
| 1 x Plastic spatula | 1 x Power adapter |
| 1 x USB cable | 2 x Power cord (EU-UK/USA) |
Design and features
The Monoprice Mini Delta v2 is a small printer with a printing area of 110 mm in diameter by 120 mm in height, as you can see in the image below.
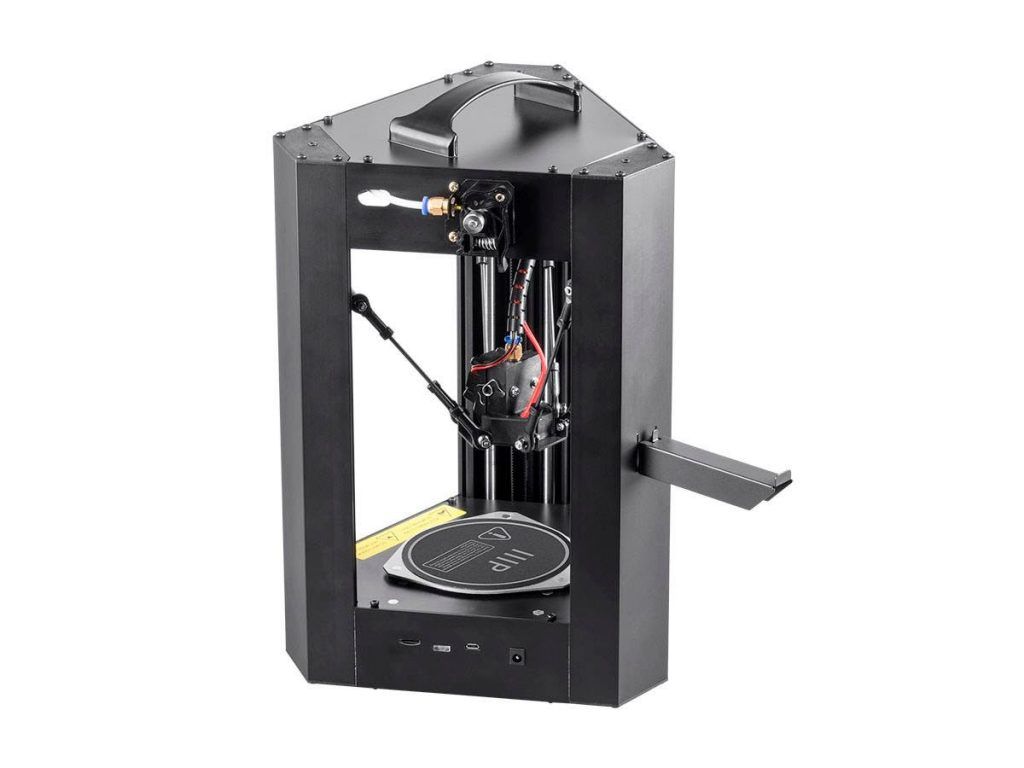
| Printing technology | Fused Filament Fabrication (FFF) |
| Types of filaments supported | PLA, Easy PETG |
| Filament diameter | 1.75mm |
| Nozzle diameter | 0.4mm |
| Nozzle temperature range | 180 ~ 260°C |
| Printing area | ø110 x 120mm |
| Precision | 50 microns |
| Print input methods | MicroSD™ , Wi-Fi®, USB |
As we have previously commented, a different aspect from Cartesian printers is their movement (or Delta system). This uses three spider-shaped arms, leaving the print head suspended in the center and with the coordination of these three arms, it allows the head to be moved both in height and to any part of the printing area.
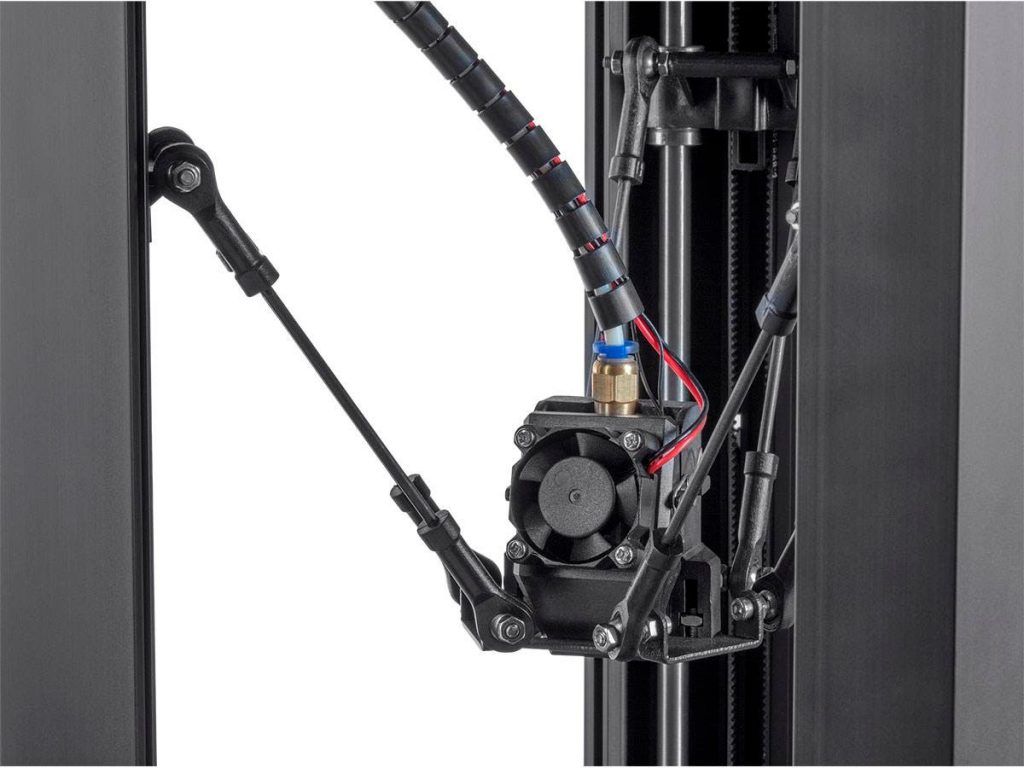
Honestly seeing a Delta in operation is hypnotic, especially if you are used to always working with Cartesian printers (as it happens to me), since the movements are totally different.
The printer is fully calibrated at the factory and we can start printing immediately. The inclusion of the leveling system for the Z axis, although this is relatively basic, allows you to avoid wasting time in the leveling process in bed.
It also includes a heated bed together with its rough PEI surface, which perfectly adheres our prints. In fact, these pieces usually offer resistance when it comes to detaching, but the included tool will greatly facilitate the extraction process.
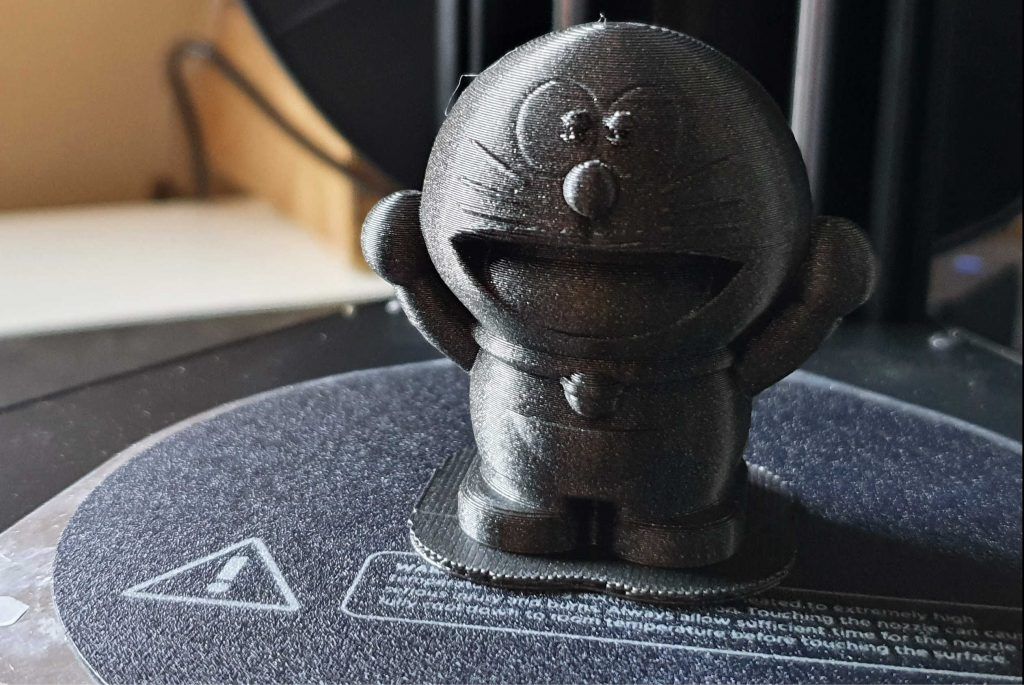
Even with the leveling system and the heated bed it is always advisable to use a skirt on the prints to further improve the adhesion of our pieces. Although we can also add a little lacquer or glue stick if we are going to use a lot of surface of the printer bed to avoid the famous warping problem.
One aspect that we miss and that will limit the possibilities of this printer is the absence of a layer fan, since it only has a small fan that cools the hotend which in turn provides of some air flow to the printing area although totally insufficient to make complex parts.
Luckily, we have many mods from the community to improve this aspect as well as adapt V6 hotends, more powerful fans, etc. something that again gives this printer a lot of play.
On the other hand, the inclusion of a print recovery system due to power failure and a filament change assistant are very interesting. Both with a simple wizard from the screen itself.
Another remarkable feature is the inclusion of WiFi connectivity which from our point of view could be an important point in the handling of the printer. However, the available App (Android e IOS) gave us some problem and in the end we ended up using the SD to pass our models to the printer.
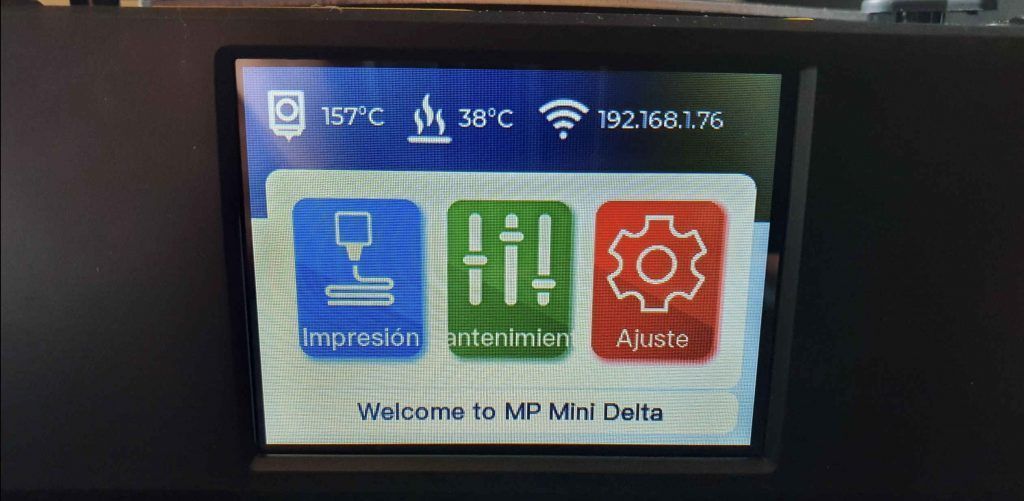
We also have a large touch screen that can be connected directly to Ultimaker Cura to operate our printer, perhaps the most suitable way.
Initial startup
The Monoprice Mini Delta v2 has seemed to us a very simple and intuitive printer to use. However, in the following image you can see the correct process of its start-up:
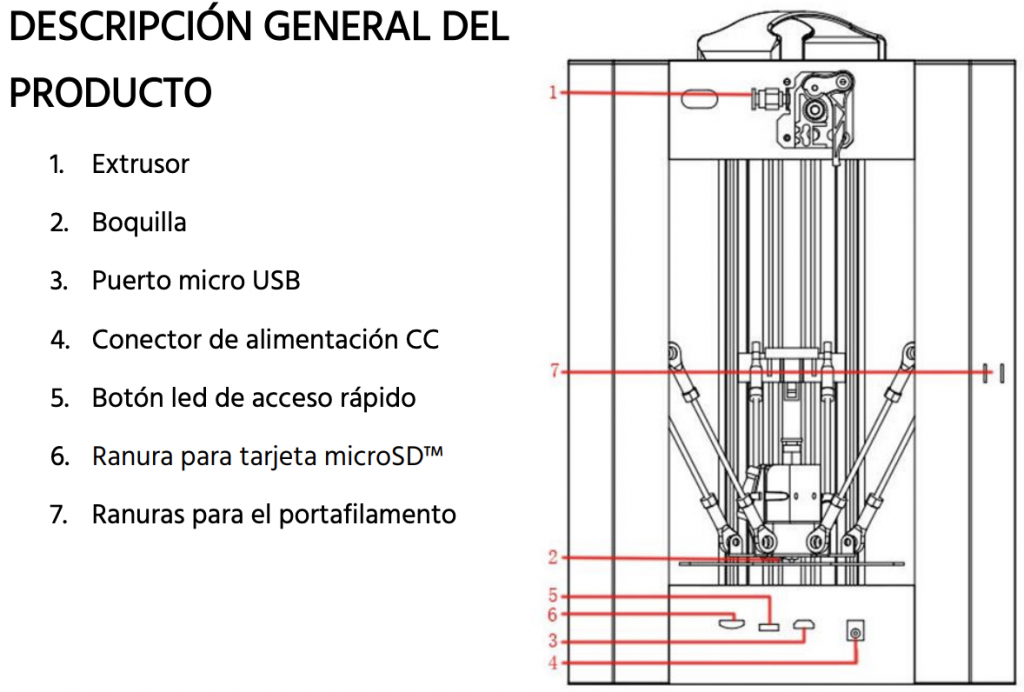
We will begin by removing the printer from its packaging and placing it on a flat and stable surface, if possible in a well-ventilated area with access to a power outlet.
We will take the filament support from the accessories box, positioning it on the slots in the printer frame (point 7 of the upper image).
We will insert the MicroSD card in the slot on the front left of the printer. In this way we can connect the printer to the power and turn it on. The printer will show us some instructions on the screen, where you must choose the desired language.
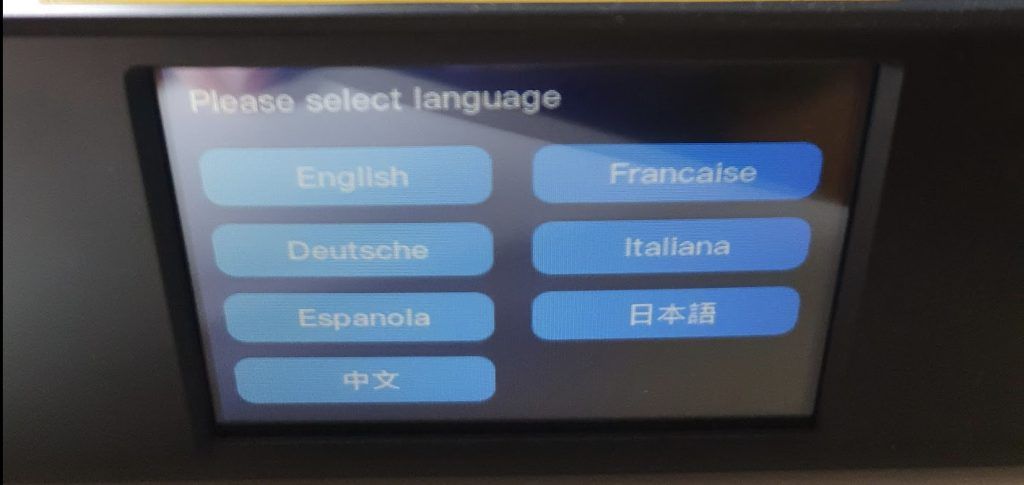
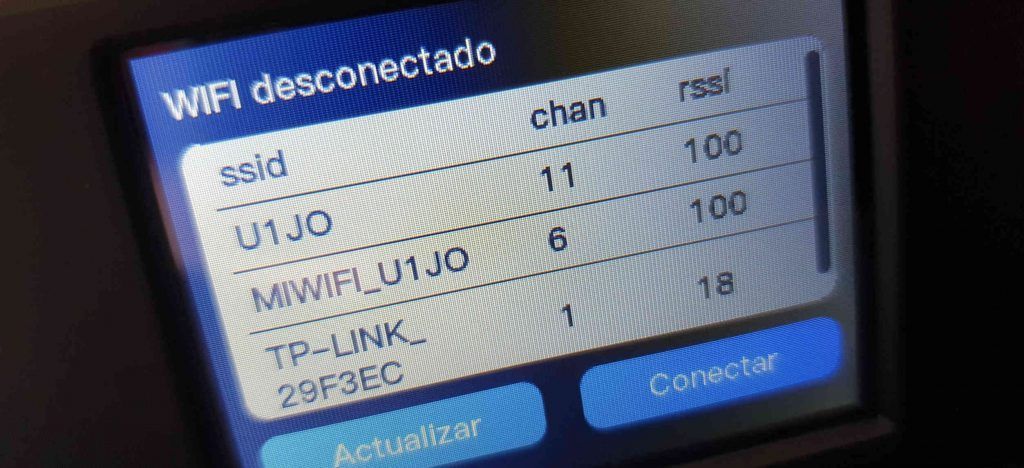
As we have already mentioned, the Monoprice Mini Delta v2 printer has WiFi connectivity. So we will proceed to configure it by selecting it from the list and adding our password (see image below).
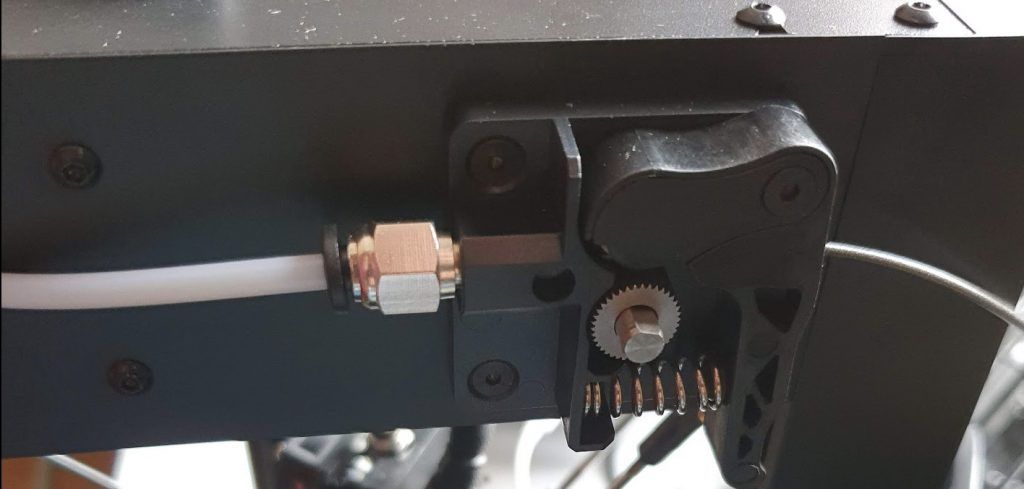
Now we will place our coil of filaments in its support and we will introduce the filament through the extruder located at the back, pressing the clamp slightly. It is advisable that we bring the filament to the entrance of the print head. Once we have this part we can continue with the Filament Input step on the screen which will heat the print head and load the filament.
And we would have our printer almost ready! The wizard will now suggest us to print a test piece, from among several available, to see that everything is in order. So we will proceed to that.
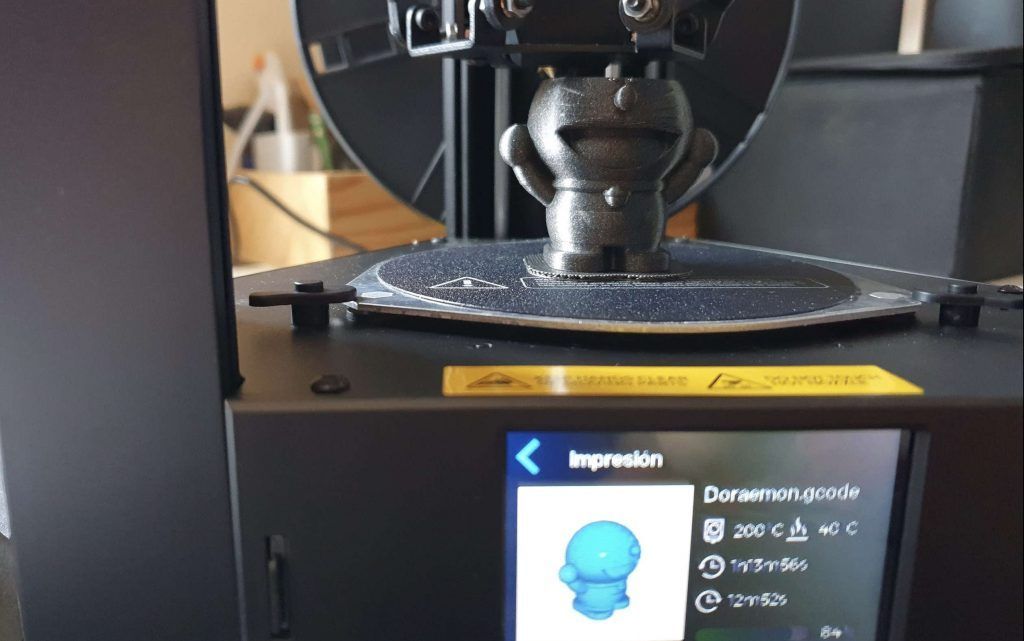
Usage experience and sample impressions
As we have already mentioned several times, the handling and use of the printer is extremely simple and intuitive. Partly because of the construction of the printer itself and, of course, because of the initial wizard and its touch interface with all the options set beforehand.
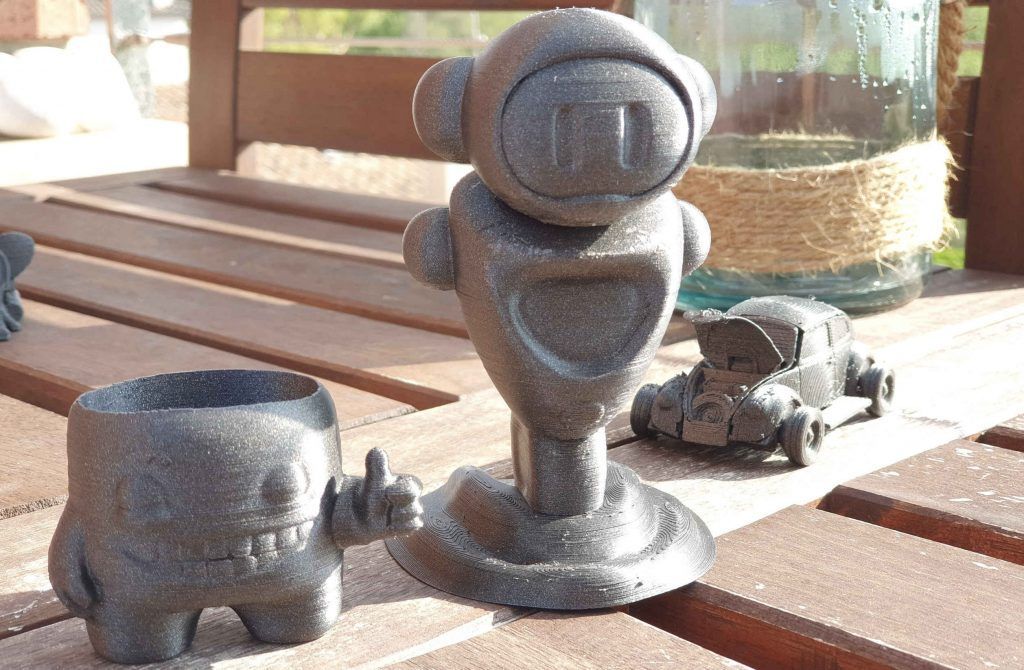
The results with the parts included in the SD were more than acceptable and without any additional calibration. Take the printer out of the box and give it to print, the result is in the following image.
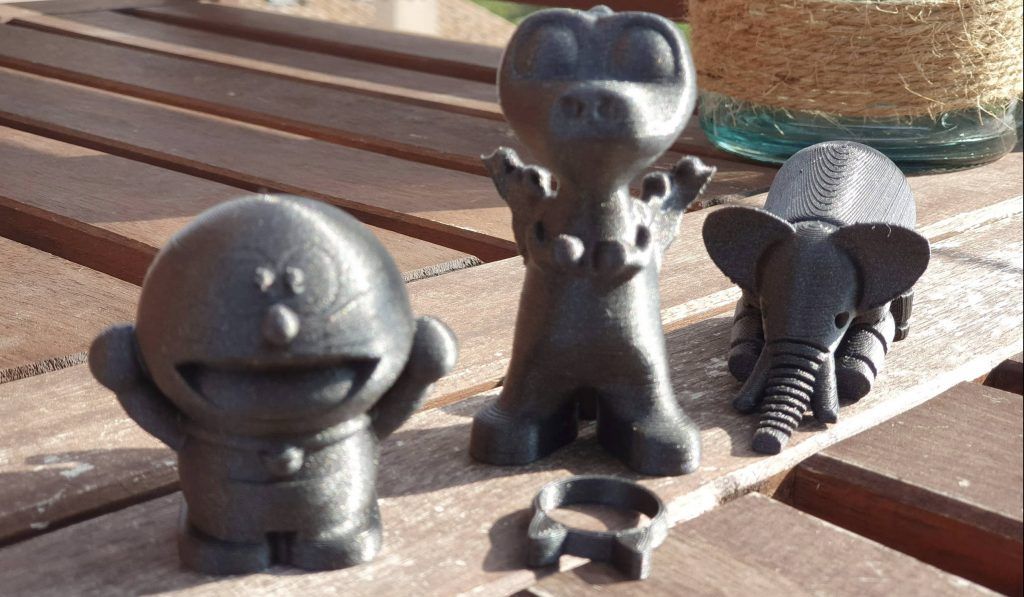
As we have commented, the lack of an adjustable layer fan limits the complexity of the impressions that we can make as you can see in the following example photos where the retractions, overhangs that are affected by the layer ventilation were not as we would have liked.
The good news is that, as we said before, we can find many mods in Thingiverse to improve this and other aspects.
The direct support from Ultimaker Cura even in its newer versions like v4.11 is to be appreciated. Although on the other hand we advise you to download the profiles created by the community that, although they are of less current versions, can be imported without any problem. These profiles can be downloaded from next link.
On the other hand, if you want to get the most out of the machine it would be advisable to perform a complete calibration for a fine tuning. It is important to note that many of these settings will need to be applied by GCode in Ultimaker Cura.
If you want more information on how to make these calibration adjustments, in this community link Monoprice Mini Delta where you can find a lot of first-hand information.
Brief final assessment
Again surprised by this compact 3D printer from the brand Monoprice, which again offers a round product, with a quality/price very focused on the customer who begins his steps in 3D printing, and where simplicity of use, robustness and security are its strongest points.
A printer that despite its size limitations and capabilities handling complex operations, makes prints with the highest quality without the need to invest a lot of time in adjustments or great knowledge.
If it is true that some other extra options could be added, such as BabyStepping and Fine adjustments on screen or a more powerful layer fan. So we hope Monoprice will take note and surprise us in future revisions of it.
In short, we are faced with a printer that for its target price more than fulfills its main task, getting started in 3D printing quickly and without headaches.







Déjanos un comentario