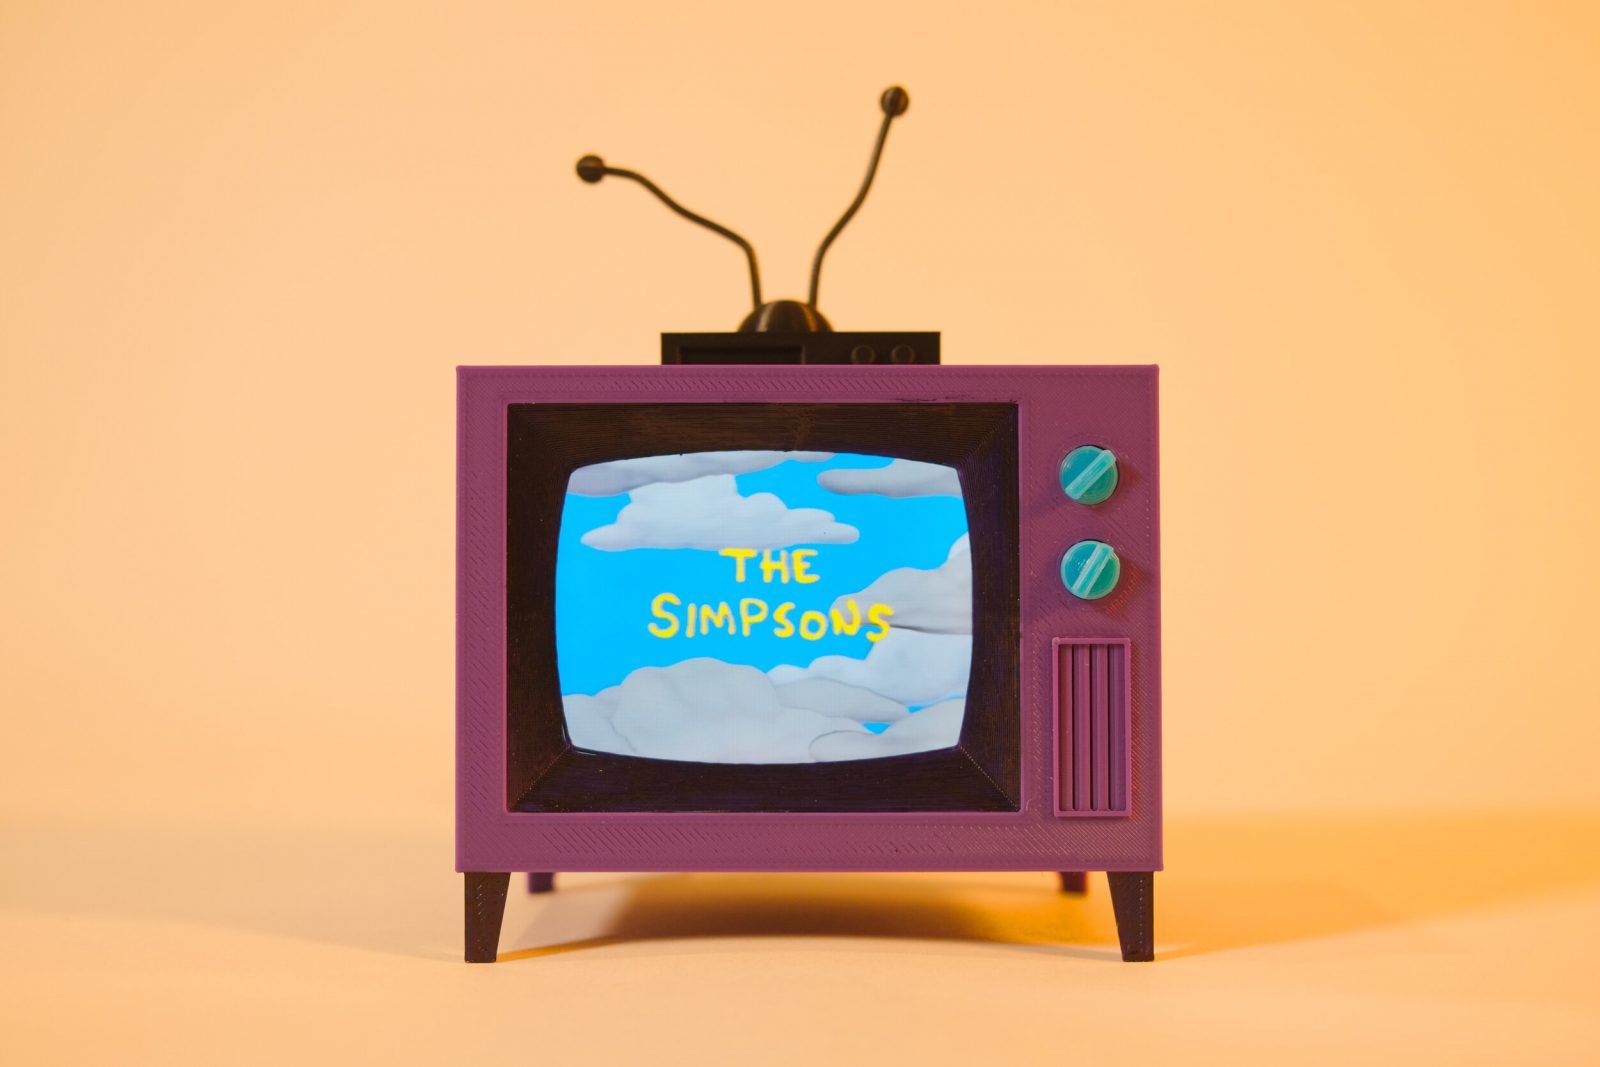
In today’s article I wanted to review an interesting project that has caught our attention. Its creator, Brandon Withrow, is a programmer and maker quite fond of the Simpsons.
In his words, “I wanted to recreate the random nature of the always-on television, in a reduced format “. Something quite original and curious, and that has not left us indifferent.
In the following video you can see the television in operation, as well as its controls:
Brief introduction
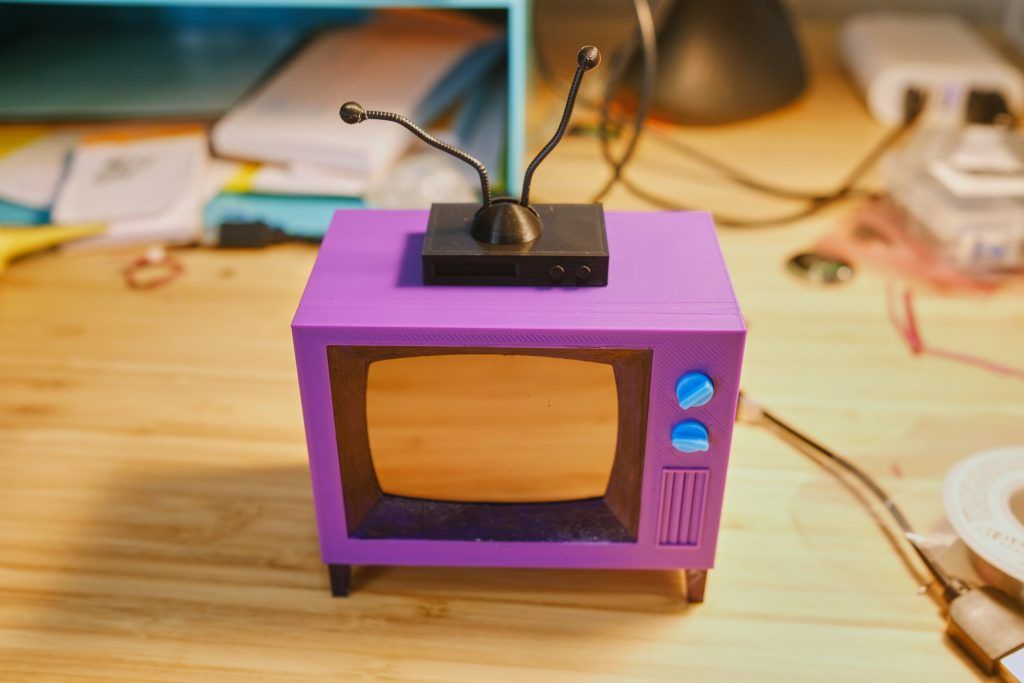
This project involves 3D printing, Raspberry Pi, 640×480 TFT display, a speaker, and some other components. What more could you ask for?
Also, like any other good Maker, Brandon is quite prolific and has a multitude of projects to his credit. If you are interested, do not hesitate to take a look at his website. Here is the direct link to his available projects.
Before continuing with the article I would like to remind you as always that we have a large community in our Telegram channel. There we usually share all our doubts and experiences.
If you like our articles and they are of interest, do not hesitate to join us. That will help us to support the 3DWork project and move forward, and we will be eternally grateful.
Required components
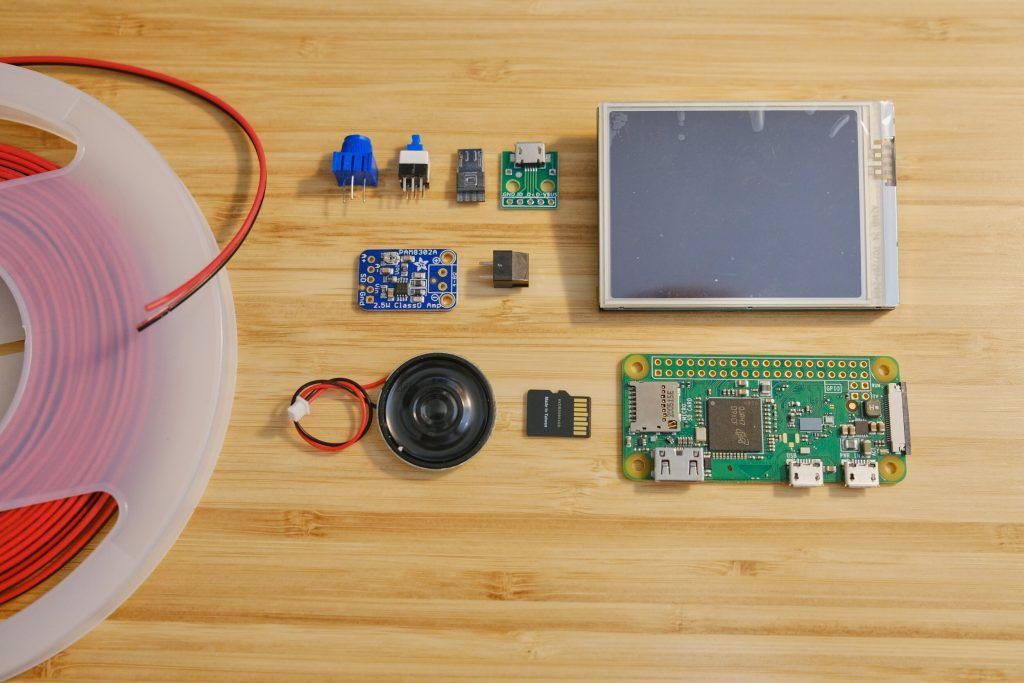
3D files for printing (STLs)
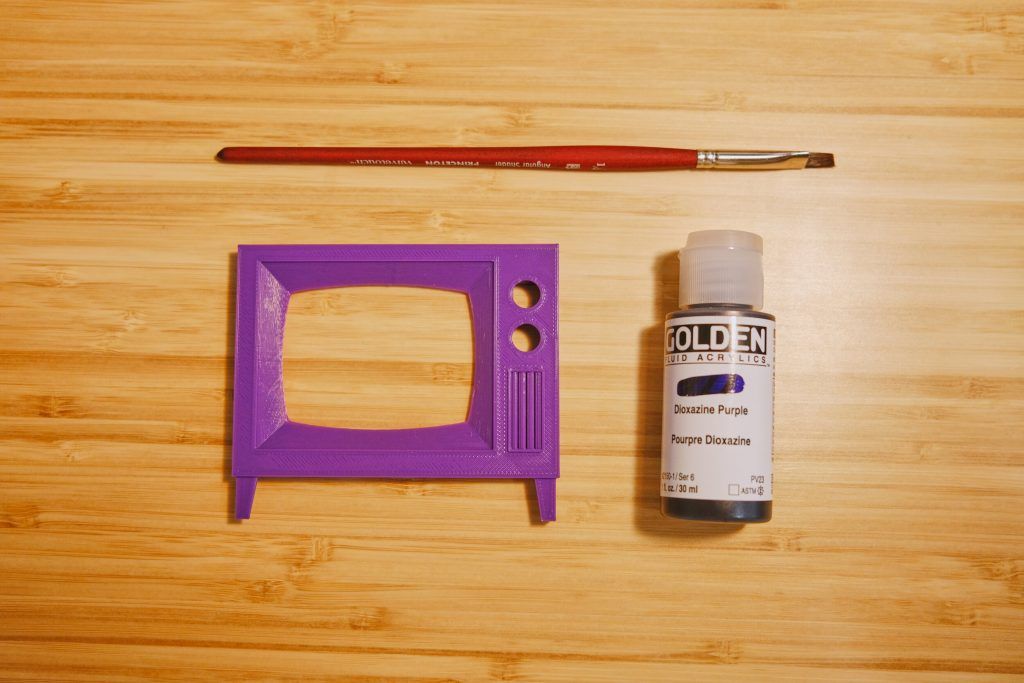
Obviously, you can easily find the STL files needed for printing on Brandon’s Thingiverse account (buba447), specifically in the next link.
In total there are 6 STL files that can be printed with a minimum padding and practically without support, except for the front face for what Brandon says in the description of Thingiverse.
As always, it is recommended to use layer height 0.2, to obtain a higher quality. And about the color, it is up to you, although the original of the series is a very cool purple 🙂
Preparation of the videos
First of all, you should prepare the videos for later playback. In this case and due to the limitations of the Pi Zero, you must prepare (encode) the videos using a computer to H264 format with a height of 480 pixels.
For this you must install FFMPEG on your computer, you can consult the Github corresponding to that project in this same link.
However, and to make the task easier, Brandon has prepared an automated script ado that will encode all the videos within a folder to the proper format. You can download it at this link.
Once encoded in the folder that creates the process, you just have to move it to the USB memory.
Hardware, operating system and connection
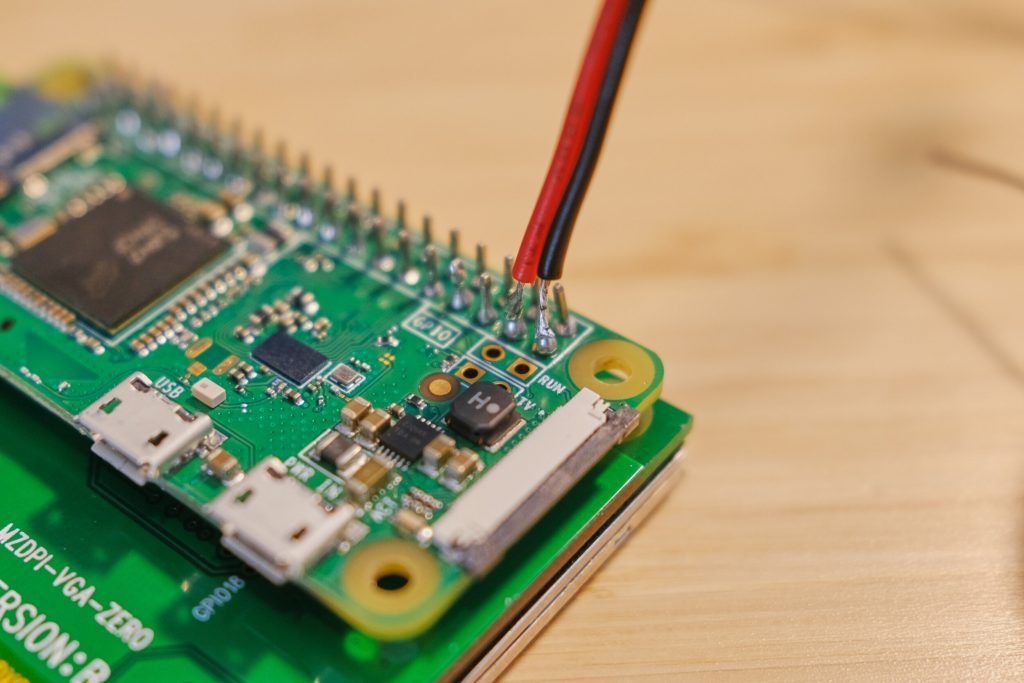
The connection and configuration process, according to the author, takes about 14 hours of work. Although most of the operations can be carried out by any beginner, there are some of medium difficulty.
However, the guide that Brandon have prepared is so visual and detailed that I don’t think it is too much of a problem for any Maker with a little experience in soldering and configuring linux environments.
In the following link you will find all the detailed instructions for the connection, assembly and subsequent configuration of the TV: Simpsons TV build guide
And well, as always we hope that this project has been to your liking. And do not hesitate to show us your television on the channel 3DWork Telegram if you dare to make it.
You can visit other interesting articles in our blog:
- Complete guide Fysetc Spider: A real “beast” for our 3D printers
- New Marlin Builder v2.0 update (+220 firmwares available v2.0.9.1)
- BIGTREETECH E3 RRF V1.1: New electronic boards for the Creality Ender 3 printers
- To buy a 3D printer: Essential guide to buy your first 3D printer in 2021
- BIQU H2 Extruder (Review): One of the lightest and most compact extrusion system on the market
- Expiration date in filaments. Utopia or something that we should demand from all manufacturers?
- QIDI TECH X-Plus: Industrial-grade, high-performance 3D printing for your desktop










Déjanos un comentario