Timelapses are a widely used photographic technique in which we try to capture events that usually occur at very slow speeds, through numerous photographic images. The results are usually impressive, it must be said.
 The main idea is to take these photographs with a certain time interval (configured by us) between shots, and in this way represent any type of event in a shorter period of time.
If you wonder why it is done in photos and not in video, the answer is very simple. A camera allows you to obtain much higher quality than a video, and less quality loss if you accelerate it at a given moment.
In addition, the size of the set of images will also be smaller and finally you will have many more parameters to configure when taking all the necessary photographs, which offers you a wide range of possibilities.
Brief introduction
If, like me, you are passionate about 3D printing and all its technologies, I suppose that you have already viewed numerous Timelapse videos on printed pieces like the ones it generates WildRoseBuilds on his YouTube channel. And if you haven’t seen them yet, you’re already taking time, because believe me, they’re really spectacular.
By the way, let me remind you that if you are interested in generating this type of Timelapse in 3D printing you can visit our article The 10 most interesting Octoprint plugins, and you will discover plugins to easily perform this type of Timelapse without the need for an intervalometer, since Octoprint will take care of it.
What is an intervalometer?
An intervalometer is an electronic device used to connect to a still camera and automatically click the shutter button. These clicks are made at set intervals, depending on the device settings.
In this interesting project, the user Zach of the YouTube channel Byte Sized, it shows us how to build your own intervalometer for a DSLR camera to generate Timelapses in a more professional way, simply using Arduino, a Bluetooth module and 3D printing.
And in case you are wondering the answer is yes, there are commercial intervalometers, but it would be very boring to buy it already manufactured. Do not you believe it?
Manufacturing our own intervalometer
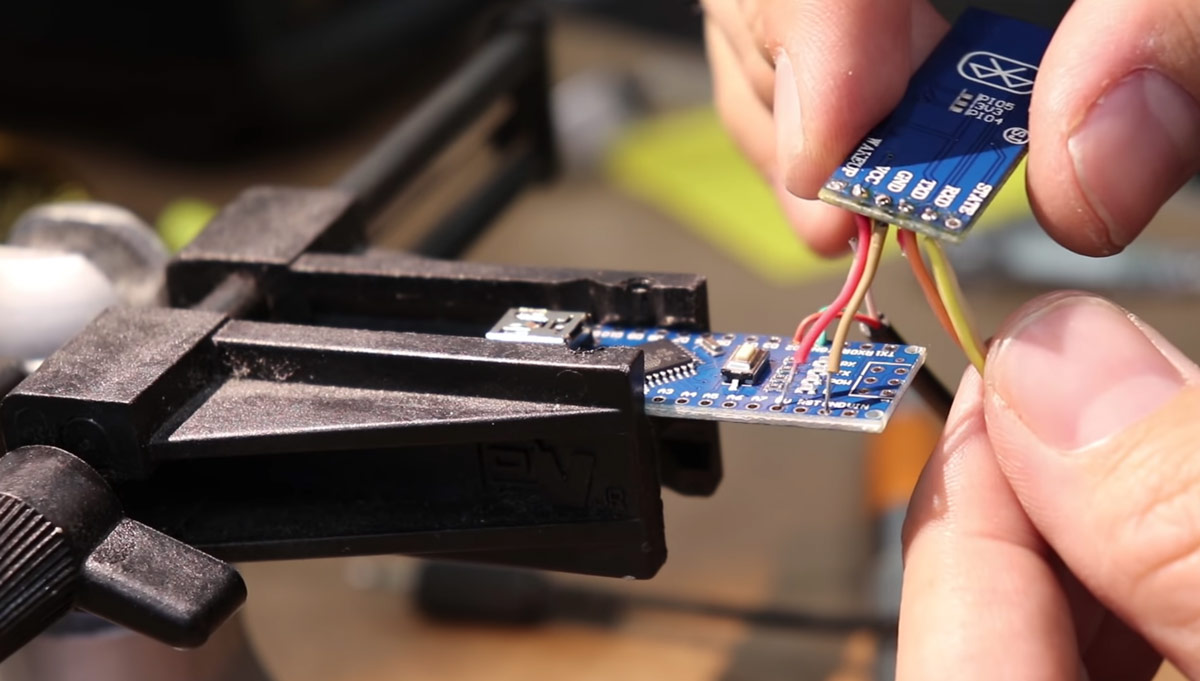
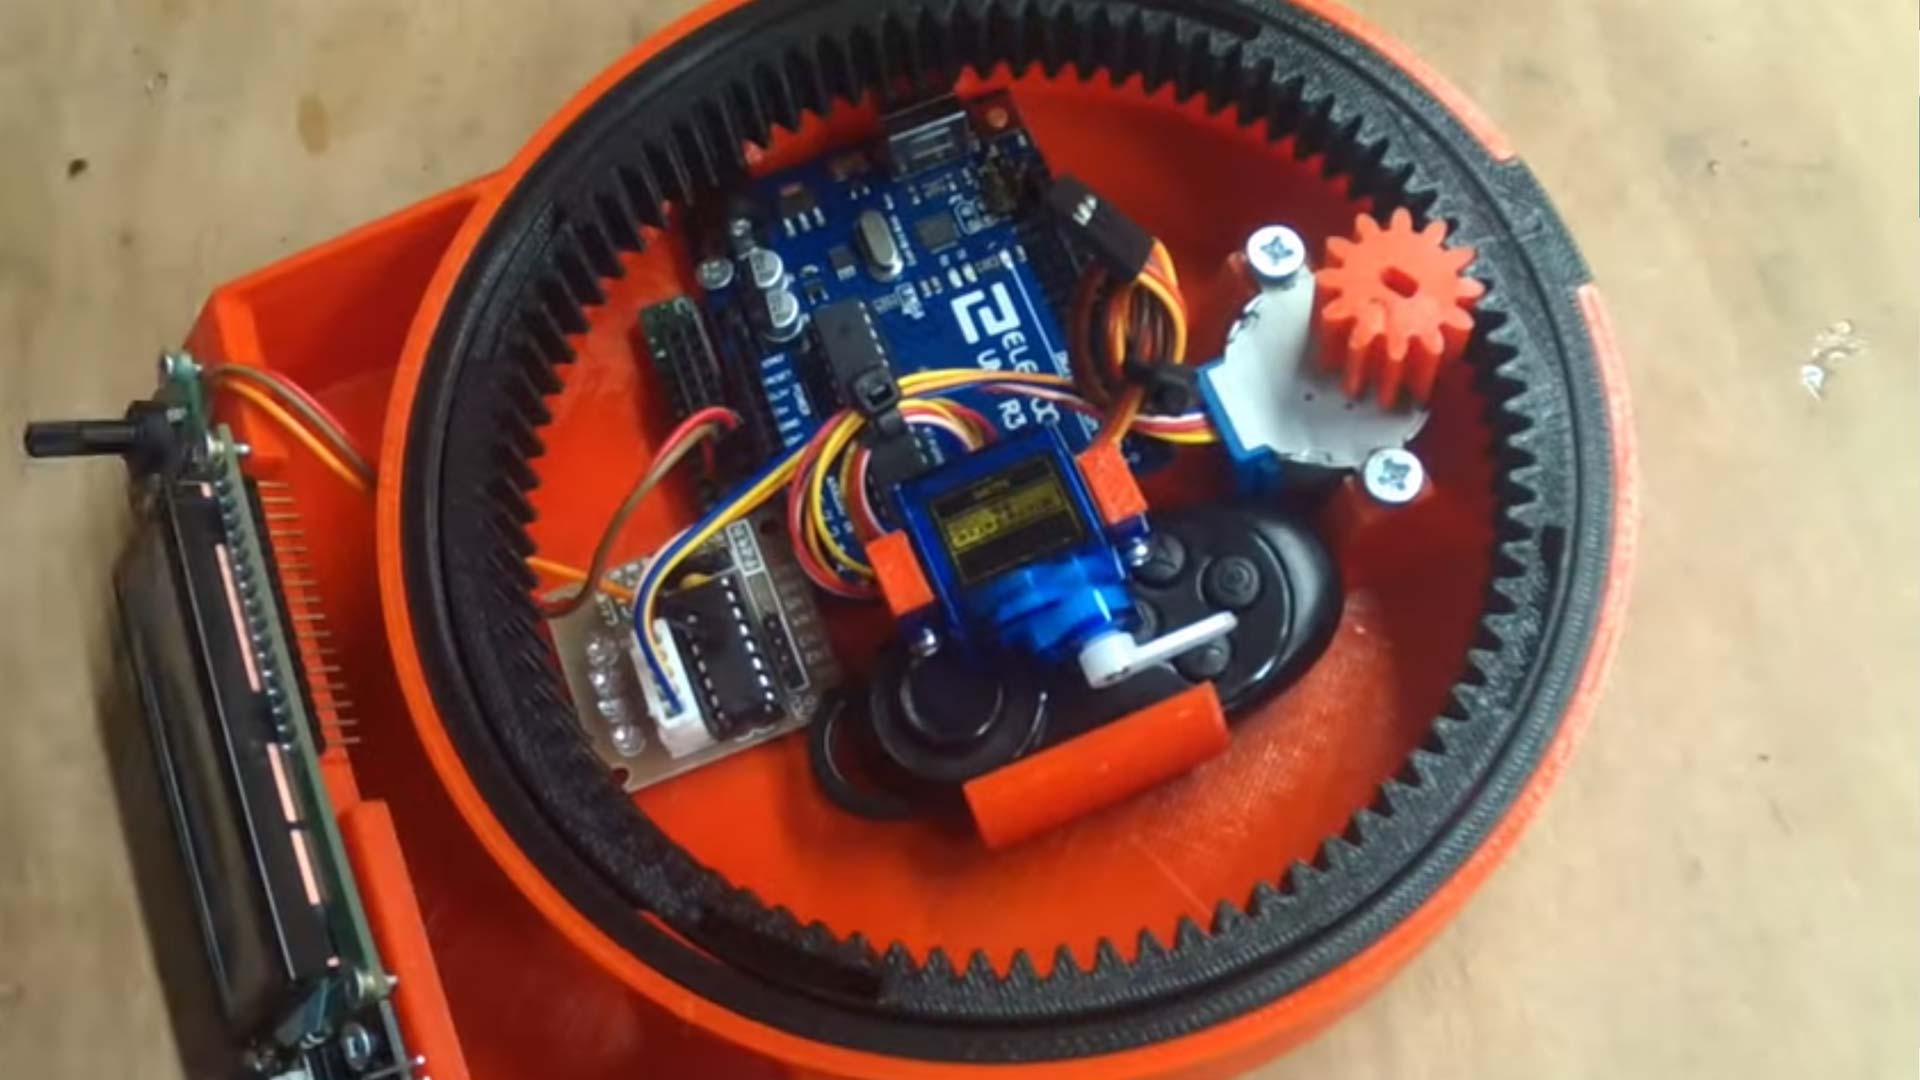
For the manufacture of the intervalometer, our friend Zach used an Arduino Nano v3 in combination with a HC-05 Bluetooth module, both devices very easy to find in any online Marketplace and with a very low price.
To communicate with the device via Bluetooth Zach used his mobile phone and an application he created using RoboRemo, a platform that offers the possibility of generating USB, WiFi and Bluetooth applications for beginners. In this way we will indicate to the intervalometer the number of photos to take, and the time interval between each one.
Required components
The Bluetooth module uses the UART protocol to communicate with the Arduino Nano. It should be noted according to Zach that the transmit pin of the Bluetooth connects directly to the receive pin of the Arduino, and not use both transmission pins in between.
 The Arduino code must monitor the serial port of the Bluetooth, and for this I make the necessary code that you can freely download from the next link.
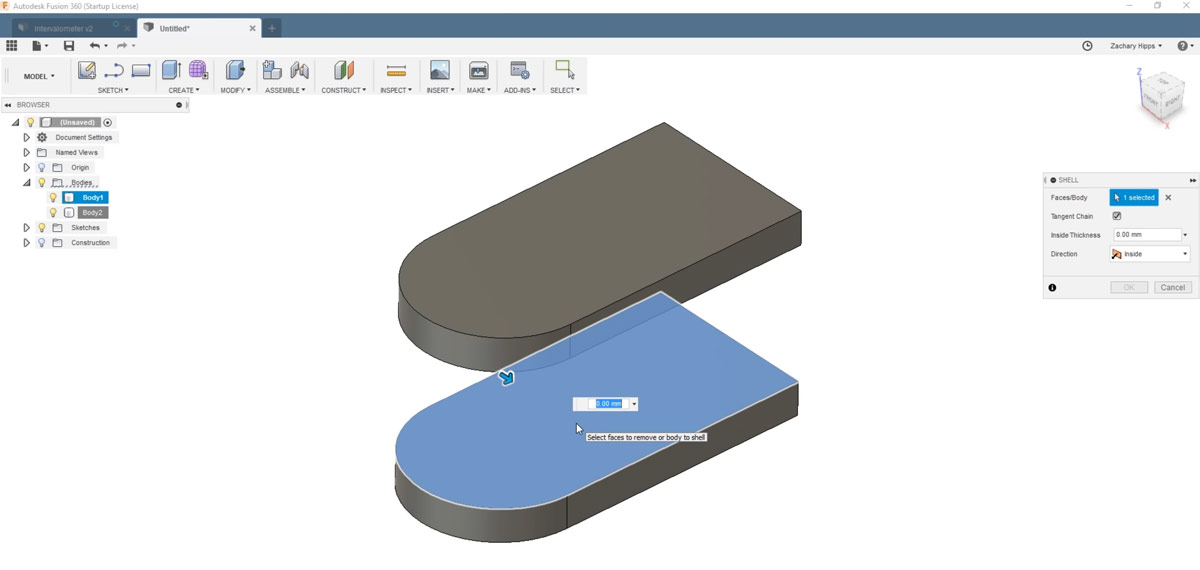
The files needed for 3D printing were uploaded to the Autodesk Fusion 360 cloud, and you can easily download them from this other direct link.
The rest of the components (hardware) can be purchased from any online store (or Marketplace). Here are some affiliate links, and if you use 3DWork you will receive a small commission to support the project.
| Arduino Nano v3 | |||
| Bluetooth HC-05 | |||
| Audio Jack TRS 2.5mm |
Another interesting alternative is to use our component search engine Markets.sx, developed by 3DWork for the community, where you can compare prices in different Marketplaces (Amazon, Aliexpress, Banggood, etc.) with a single search and very easily.
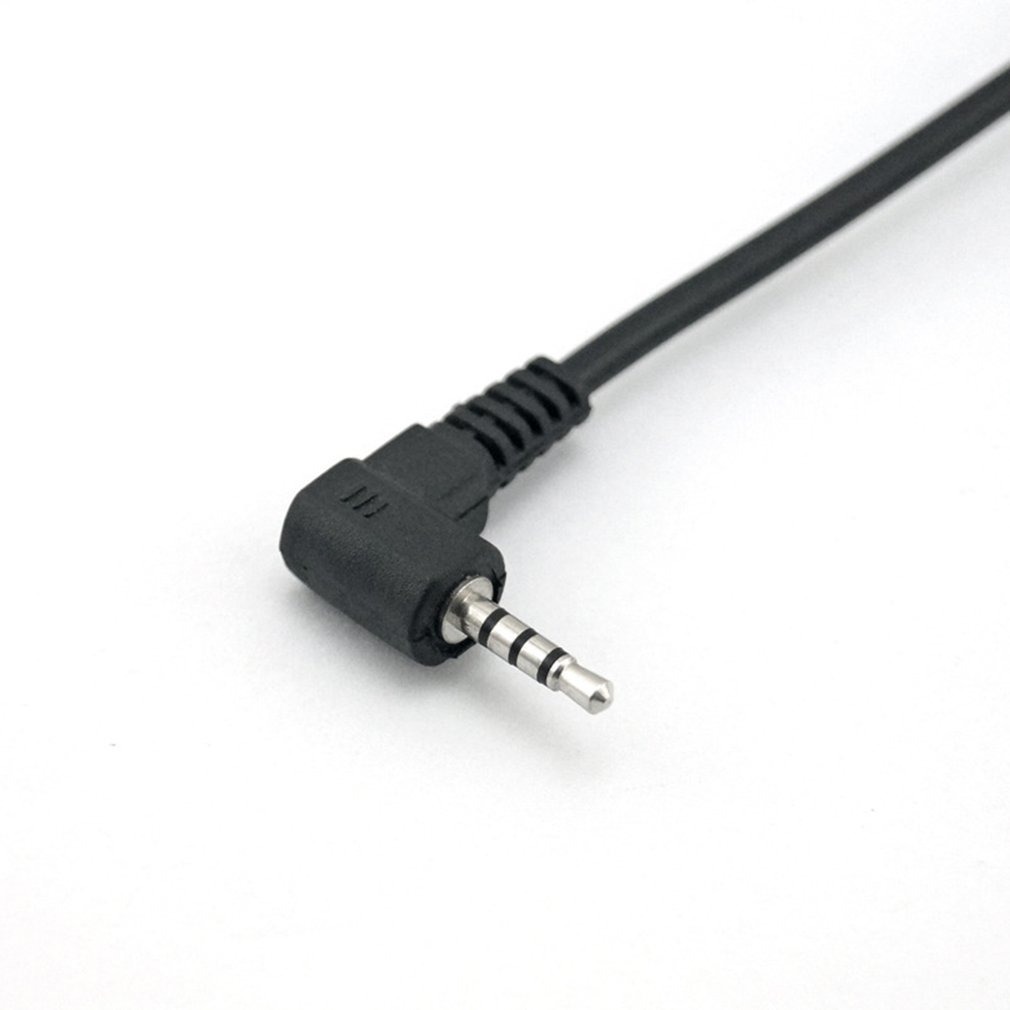
Finally, you will need a 2.5mm TRS connector, very common in all types of audio devices such as headphones or microphones.
This connector will be the one that is plugged into our camera and by making a short on 2 pins it will execute the shutter closure, simpler impossible.
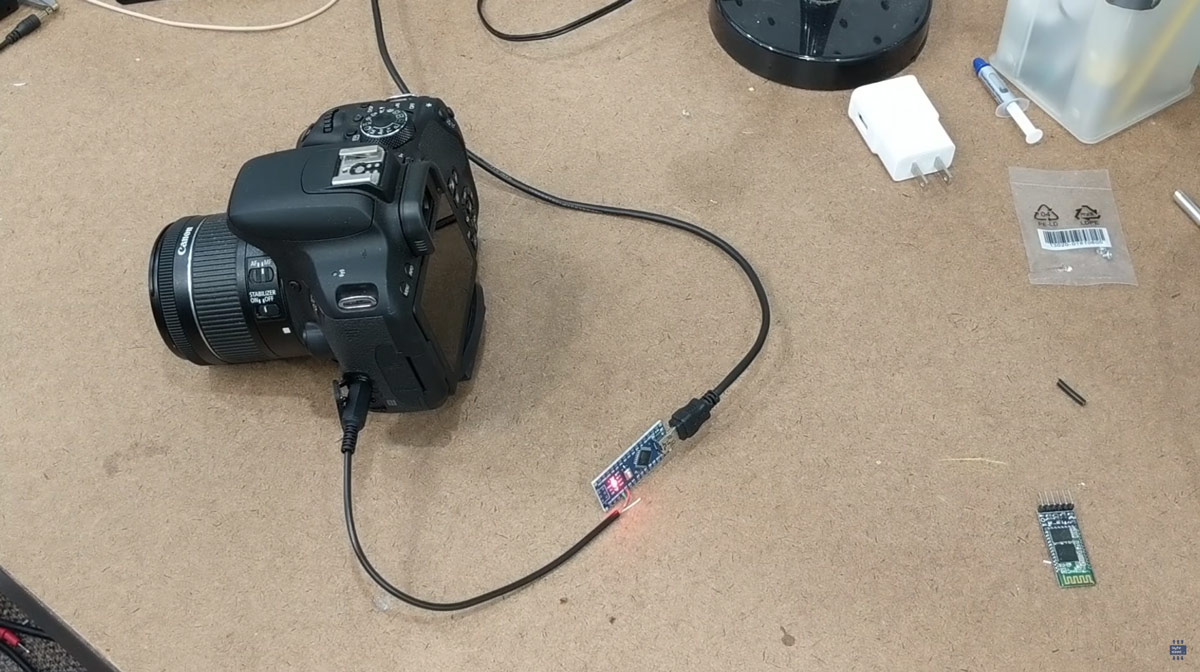
In the video of the project you can see how Zach connects the jack to the camera and manually performs the closures without any problem. You can find more detailed information about this project, and many more, directly on Zach’s website at this link.
I hope this article about How to build your own intervalometer for a DSLR camera it has been of your interest.
Other articles that may interest you in 3DWork.io :
- Hygroscopy: Moisture issues in 3D Printing Filaments
- Post-processing of 3D parts: Much more resistant and airtight with heat and salt
- Marlin Builder: Update with support for version v2.0.6.1 and factory preconfigured firmwares
- Monoprice Cadet: Safe 3D printing for kids and beginners
- New review of electronic BTT SKR MINI E3 V2.0 for your Ender 3 printer
- Closed-Loop Motors: Makerbase MKS Servo42b (Brief analysis)
- Complete guide SKR v1.4 / v1.4 Turbo with TMC2209 Sensorless drivers and Display TFT35 V3.0








Déjanos un comentario