About a month ago we published an interesting article about The 10 most interesting Octoprint plugins (and how to install them). Among all the plugins that we mentioned in this article, there was one quite interesting that allowed us to visualize a 3D mesh of our printing surface.
Its name was Bed Level Visualizer and it was certainly illustrative when leveling and seeing in real time the status and possible variations of the printing surface. Although, the only drawback is that it is still an Octoprint plugin. So if you don’t have a Raspberry Pi with Octoprint installed, you can’t make use of it.
You can always install Octoprint on a Raspberry Pi. If that’s the case, I highly recommend that you read our article Octoprint: Manage your 3D printer remotely with Raspberry Pi and Octopi, as it will be of great help to you.
Well, now with the new versions of Marlin there is a very simple way to generate 3D meshes of our printing surface without the need to use Octoprint and its plugins. This is because they provide us with a file that we can modify and load into a software to view our mesh at any time.
And remember, if you are a real maker fanatic with the 3D printing technologies, we are waiting for you on social networks (FB, Twitter, Instagram) and of course , in our Telegram channel.
Installing the necessary software
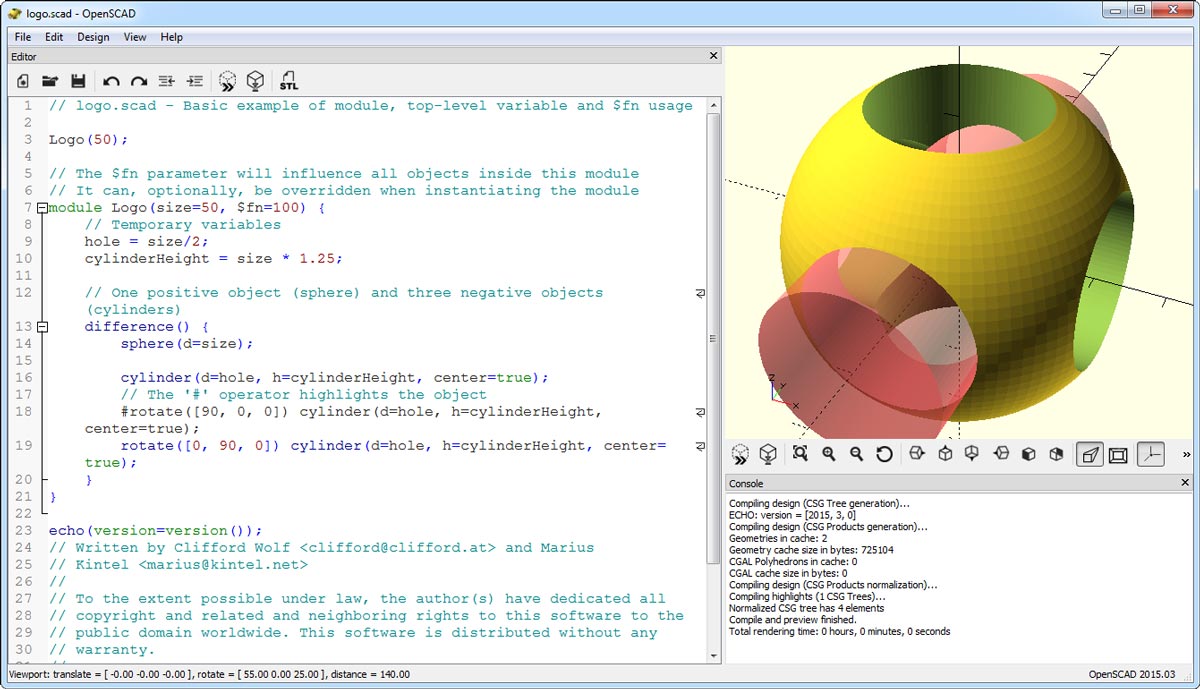
In order to carry out these illustrative 3D meshes you will need to install two completely free programs. The first one will be a software that allows us to send GCODE commands to your 3D printer and then display the data obtained on the screen.
For these tests I have used the free Repetier software. It is a slicer software that some of you will probably know beforehand, and coincidentally it is the first slicer that I started to use in 3D printing. You can download it totally free from its official website at the following link.
You can also use Simplify3D, although it is only available with a paid license. If you use the latter, you must enter the GCODE commands in uppercase. Otherwise it will not execute them, it is something curious and that does not happen in Repetier.
The second software that we are going to download and install on our machine is Open SCAD, a free application to generate solid objects for programmers. It is available on practically all available platforms (Windows, Linux and OS X), and you can download it for free from next link.
Generating the height coordinates (leveling)
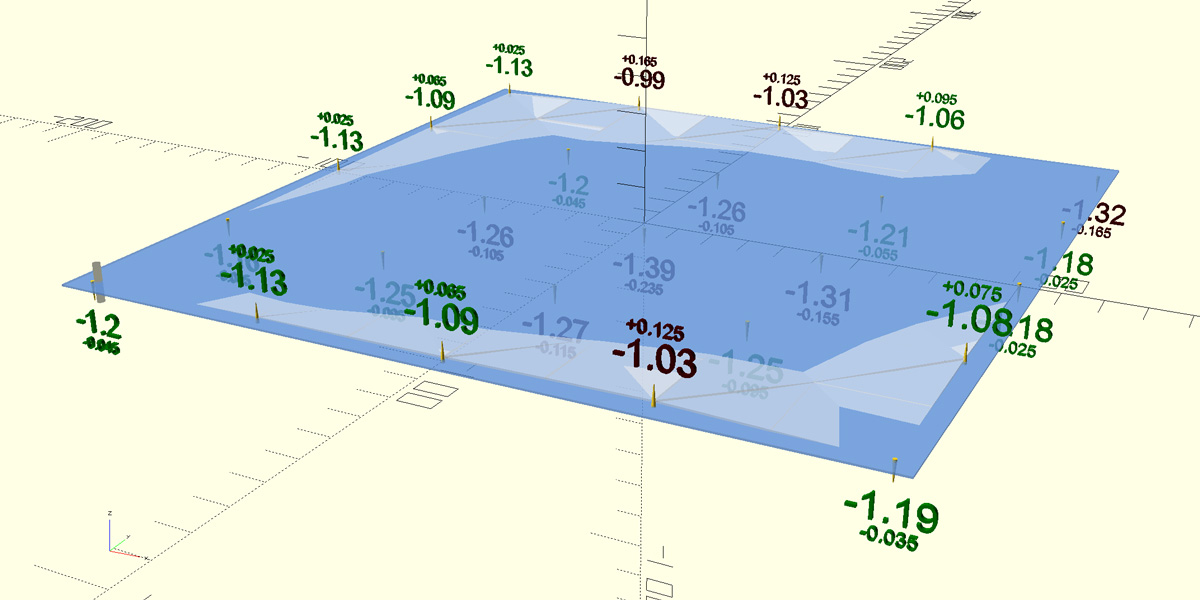
Once you have both programs installed on your computer, you must extract the leveling data from your bed. To do this, and having a physical sensor for leveling our printing surface, we will make a G28 that will execute a HOME on our printer .
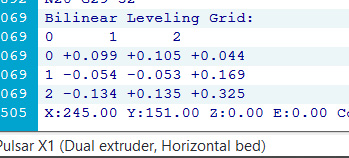 Once the HOME is done, we will send the G29 command that will begin the leveling process of our machine.
This process will carry out several probes (3, 4 or 5) depending on how you have compiled Marlin, and it will show us the data obtained (in coordinate format).
In my particular case, as I have only configured 3 points, it will simply show me 9 coordinates (3 x 3). In the image below you can see how the data shows in the Repetier software.
And finally, these data obtained will be the ones that we will introduce to Open SCAD so that it generates the preview (3D mesh).
Editing the script “MarlinMesh.scad”
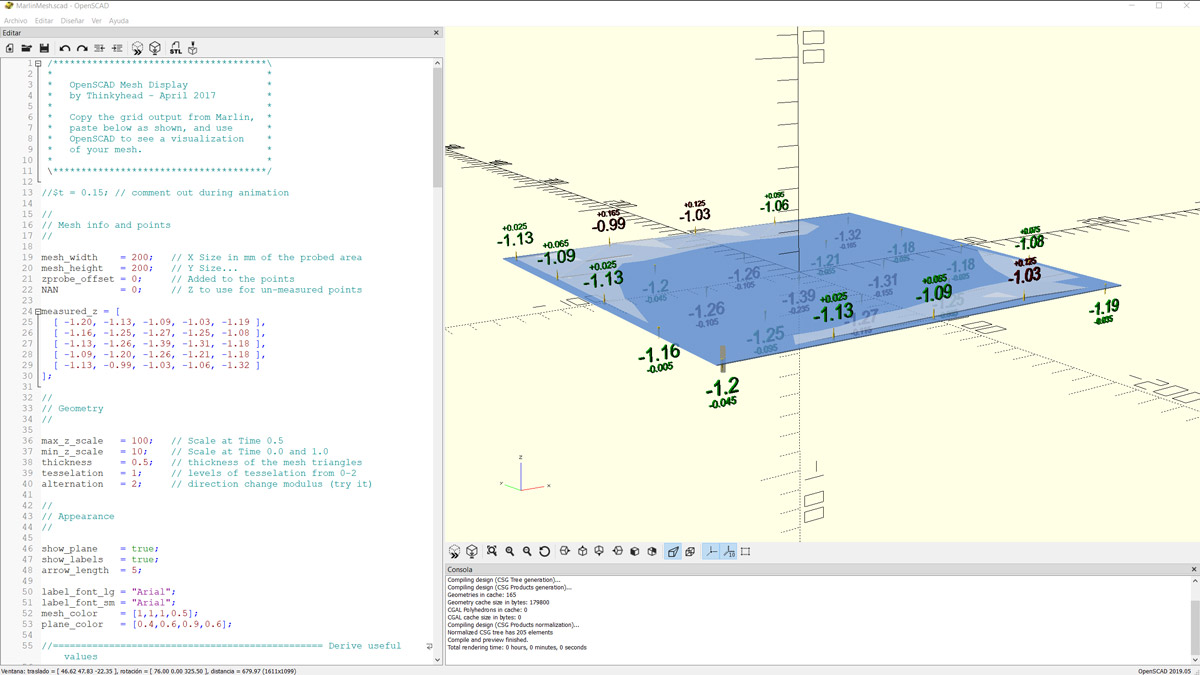
To make the whole task easier for us, the Marlin developers have created an “example” file that we can use for this task. The file is named MarlinMesh.scad and is available at the following path from Marlin sources: \buildroot\share\scripts
The only thing you will have to do, after having previously installed Open SCAD, will be click twice on this same file and an instance of the software will open for you to edit it, as you can see in the image higher.
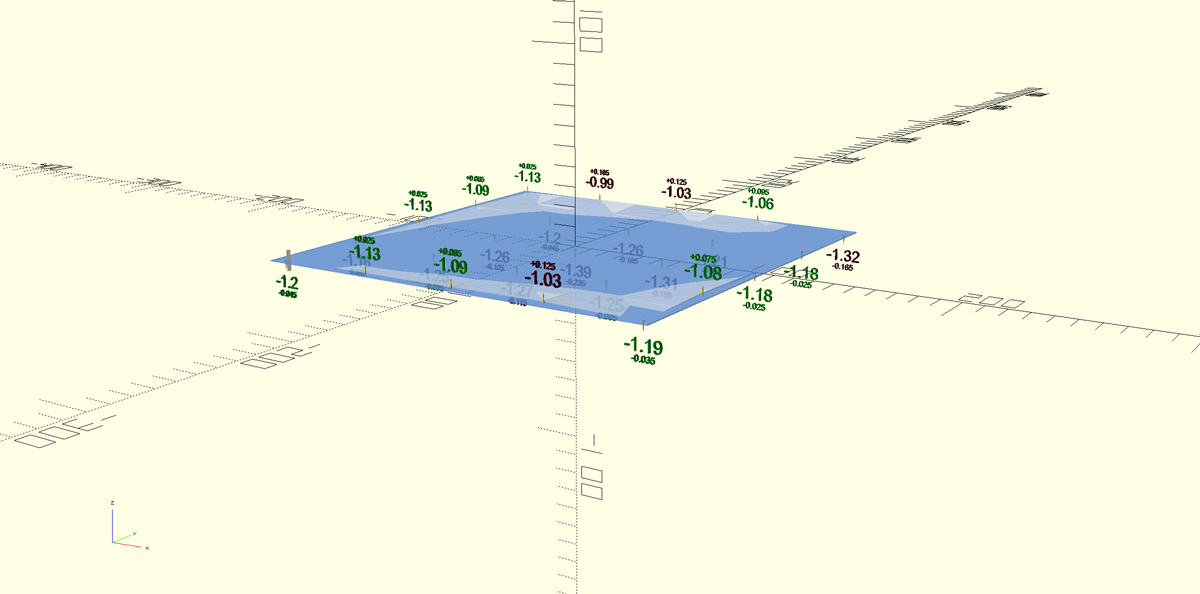
Now go to text line number 24 and replace the current values of the file with the ones you obtained after sending the G29 command to your 3D printer. Once entered, save the file, and the 3D model will automatically update and show you in real time all your values in a graphical and intuitive way.
Do not hesitate to read other very interesting articles that you can find in 3DWork:
- New review of electronic BTT SKR MINI E3 V2.0 for your Ender 3 printer
- Closed-Loop Motors: Makerbase MKS Servo42b (Brief analysis)
- Complete guide SKR v1.4 / v1.4 Turbo with TMC2209 Sensorless drivers and Display TFT35 V3.0
- DyzeXtruder Pro: Analysis of a high-performance extruder for professional environments
- MKS TFT35 Display: Latest updates v106 and v107 available
- The Spaghetti Detective: Monitoring Octoprint from the Internet safely
- Powering the Raspberry Pi from the power supply of your 3D printer
- Booting our Raspberry Pi from USB with an SSD hard drive (or pendrive)
- Maker Ultimate 2: Review of the latest Monoprice printer






Gracias! Thank you!
Thanks for your words, Doug Joseph,
Regards
We gonna install needed soft.
Then we gonna send G-code command.
With no steps on which soft to use and how.
What the point.
Tutor that requires googling is like the one i have jumped from to this one.
Hi Anonymous,
the process is explained and you have links to both software needed to visualize your bed mesh.
If you have limited knowledge or need something more simple maybe you can try with the online visualizers like:
https://lokspace.eu/3d-printer-auto-bed-leveling-mesh-visualizer/
https://i.chillrain.com/index.php/3d-printer-auto-bed-leveling-mesh-visualizer/
Remember this guide/article was created in 2020 and today probably you have better and easy tools to obtain the same results.
Regards.